Manage Shared Identity
With the miniOrange Shared Identity feature, a single user account of your application can be securely accessed by multiple people without sharing the actual credentials. Authorized shared users can access the applications assigned to that account only for those applications where the Shared Identity feature is enabled, while security controls and auditing remain intact. This feature is ideal for scenarios where teams need to use the same application account without exposing login details.
How to Configure Shared Identities
- Log in to miniOrange Admin console.
- Go to Users > Manage Shared Identity from the side menu.
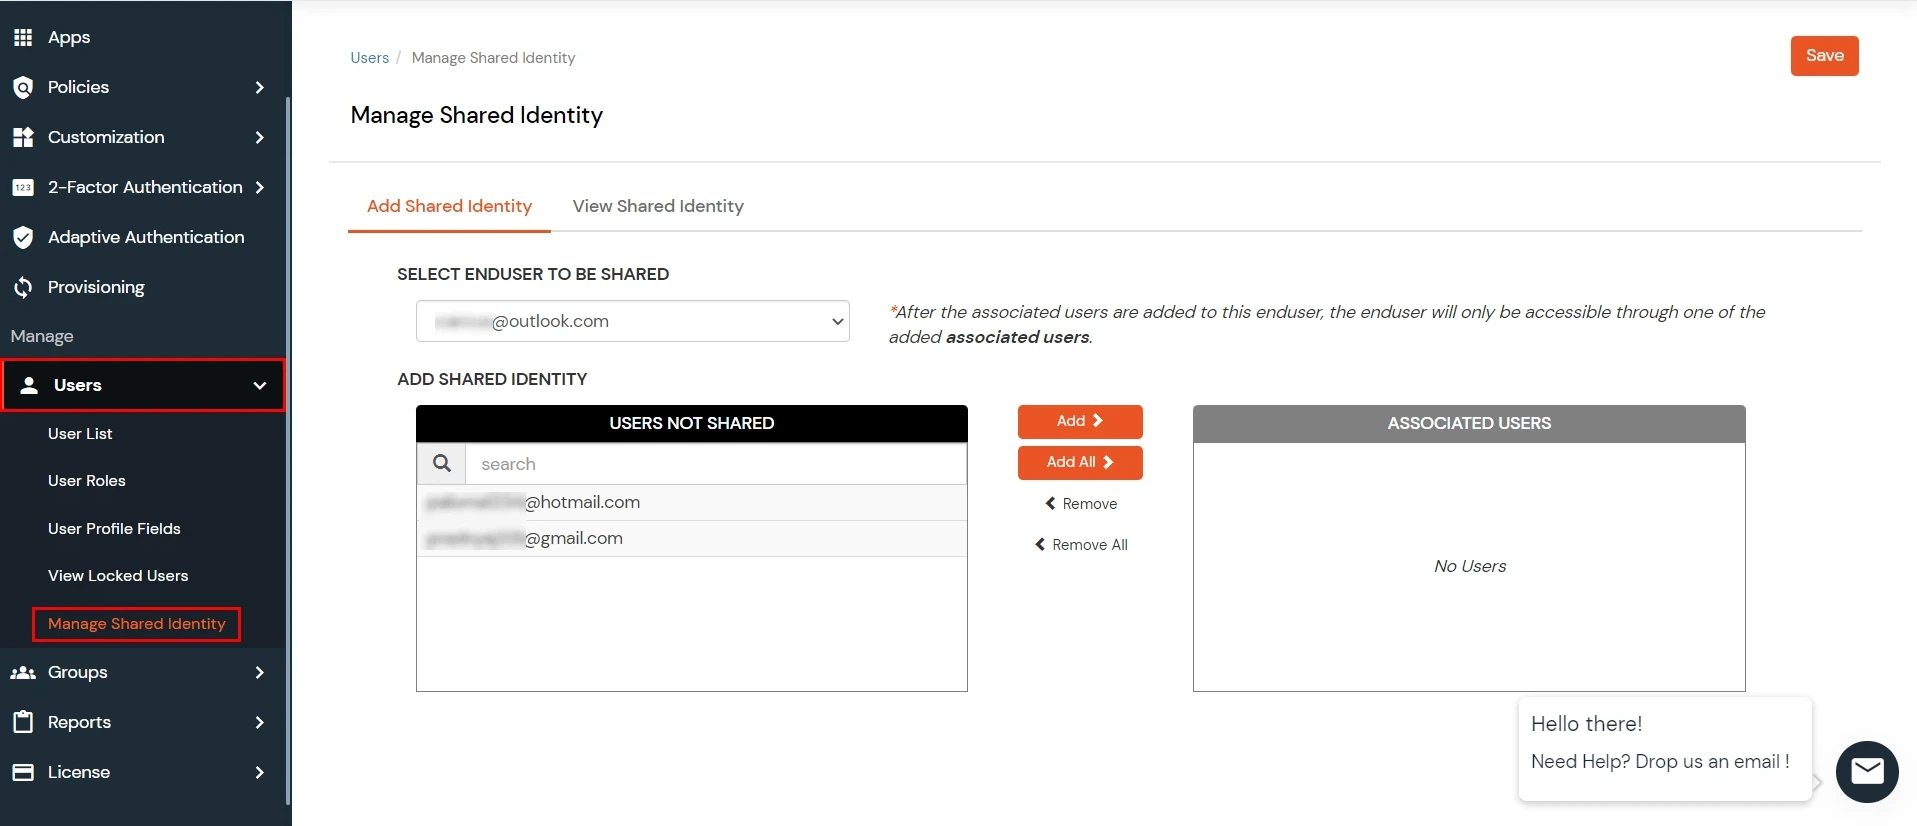
- Click the Add Shared Identity button.

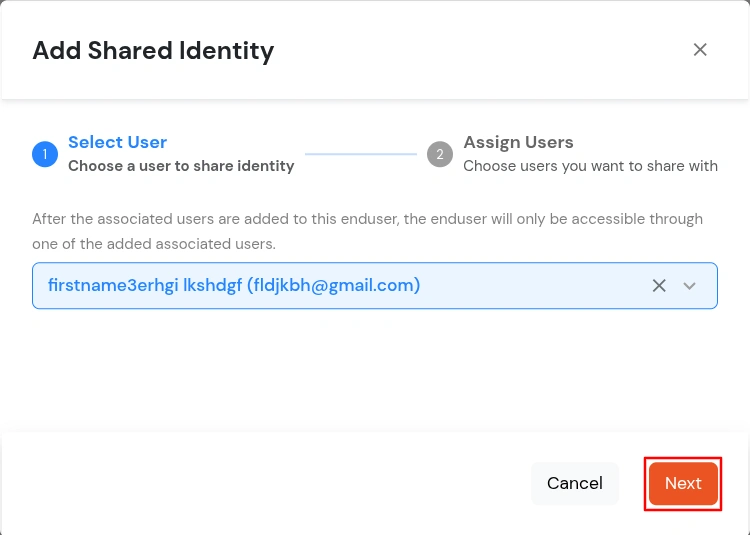
- In the first step of the modal, select the User Identity you want to share.
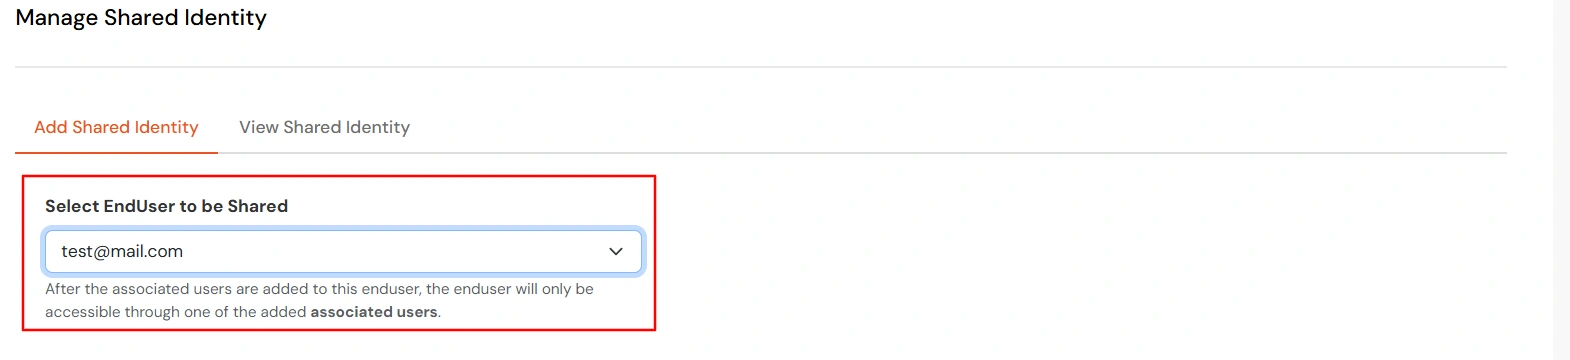
- Click Next to proceed to the next step.
- In the Select Users to Assign step, choose the users you want to assign access to the shared identity.
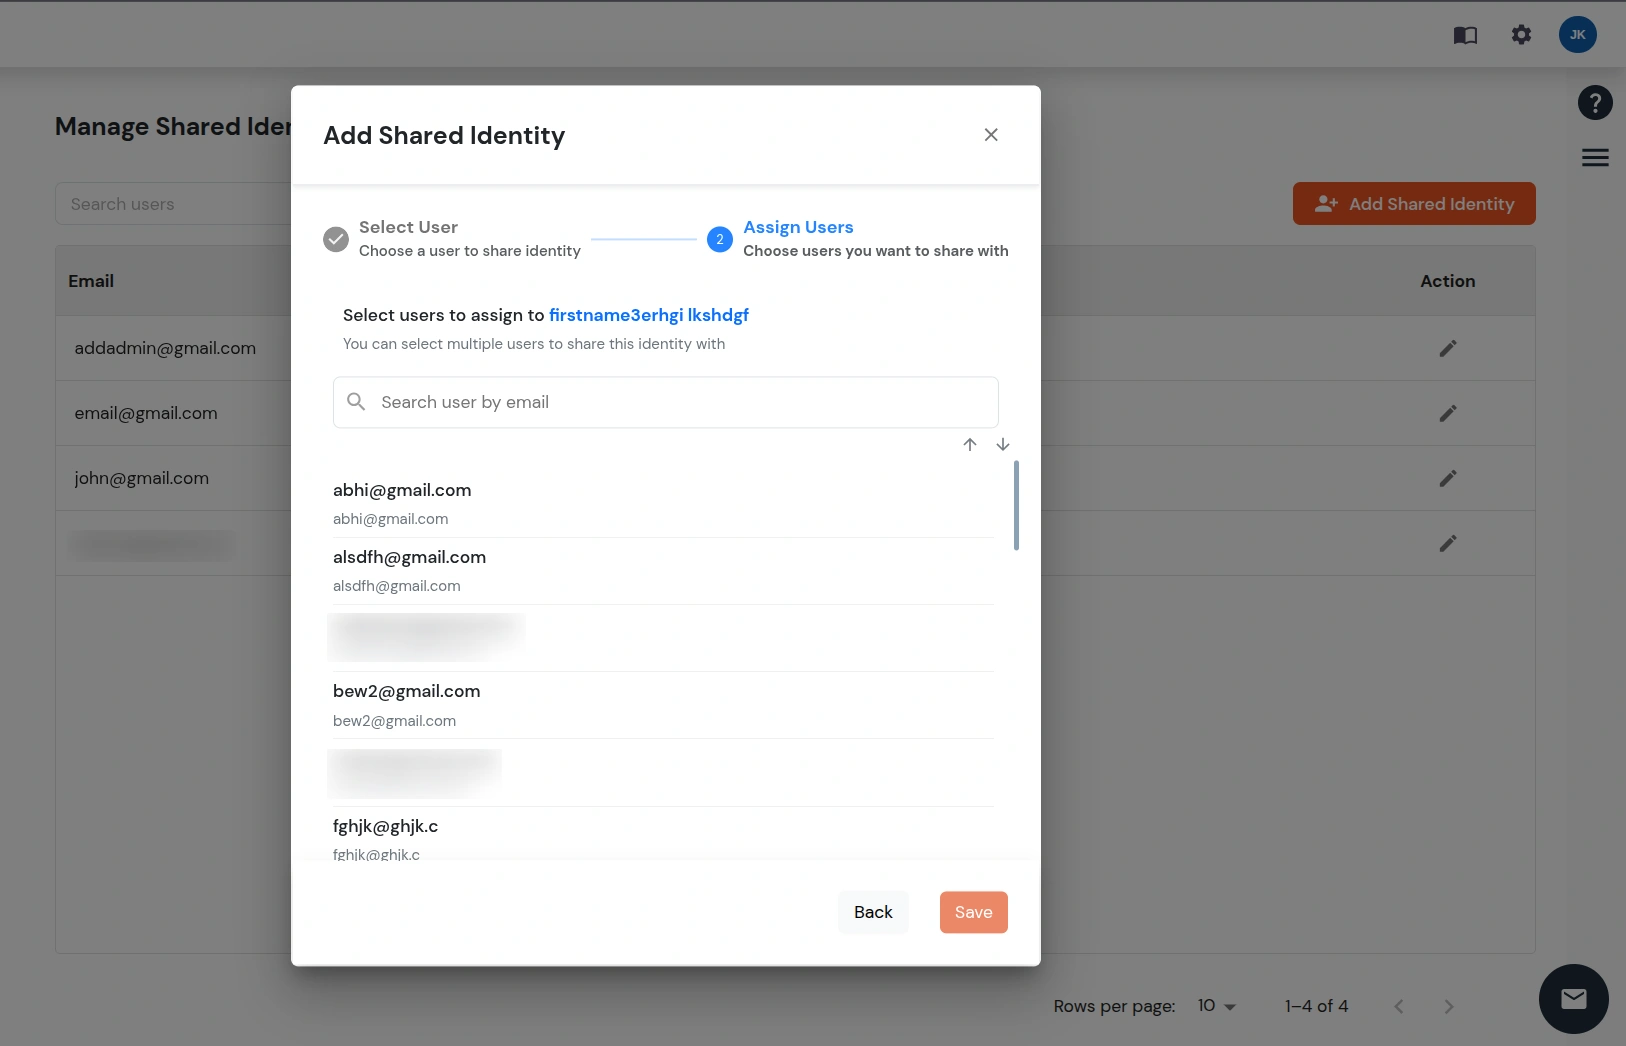
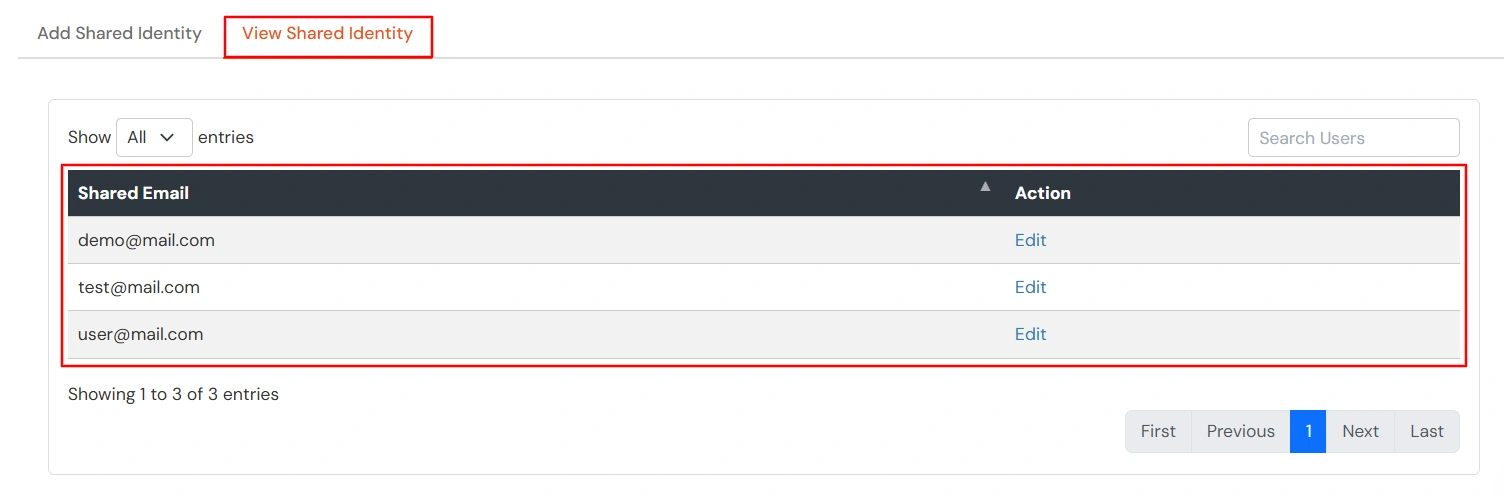
- After selecting the required users, click the Save button. The shared identity will now appear in the Shared Identities table.
- To view shared identity details, click the Edit option in the corresponding row.
- You will see all users associated with that shared identity.
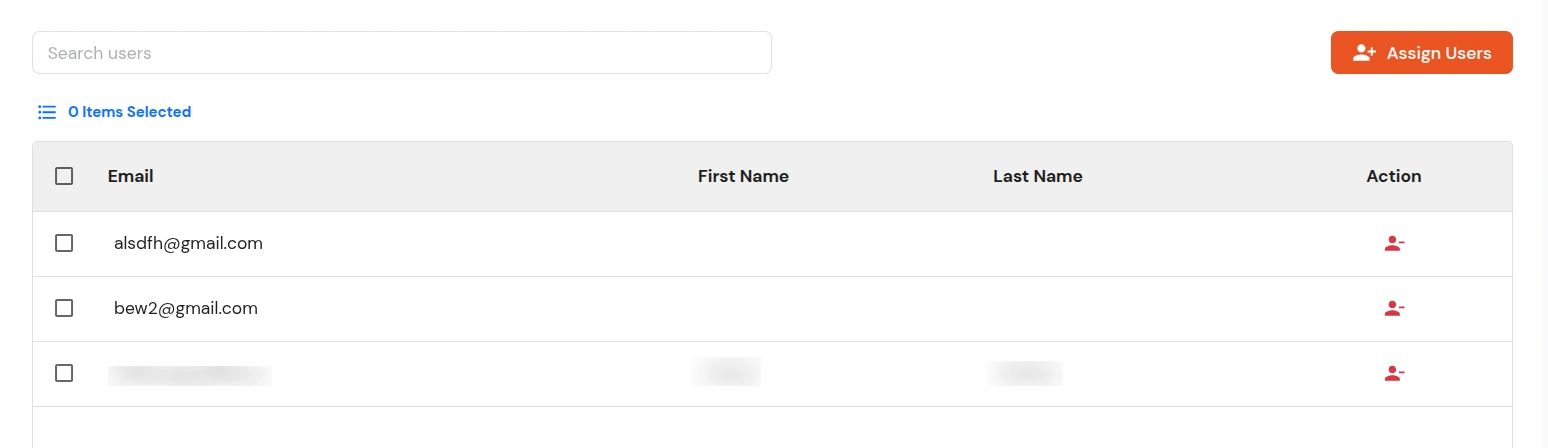
- To remove a single user, click the Remove button next to the user.

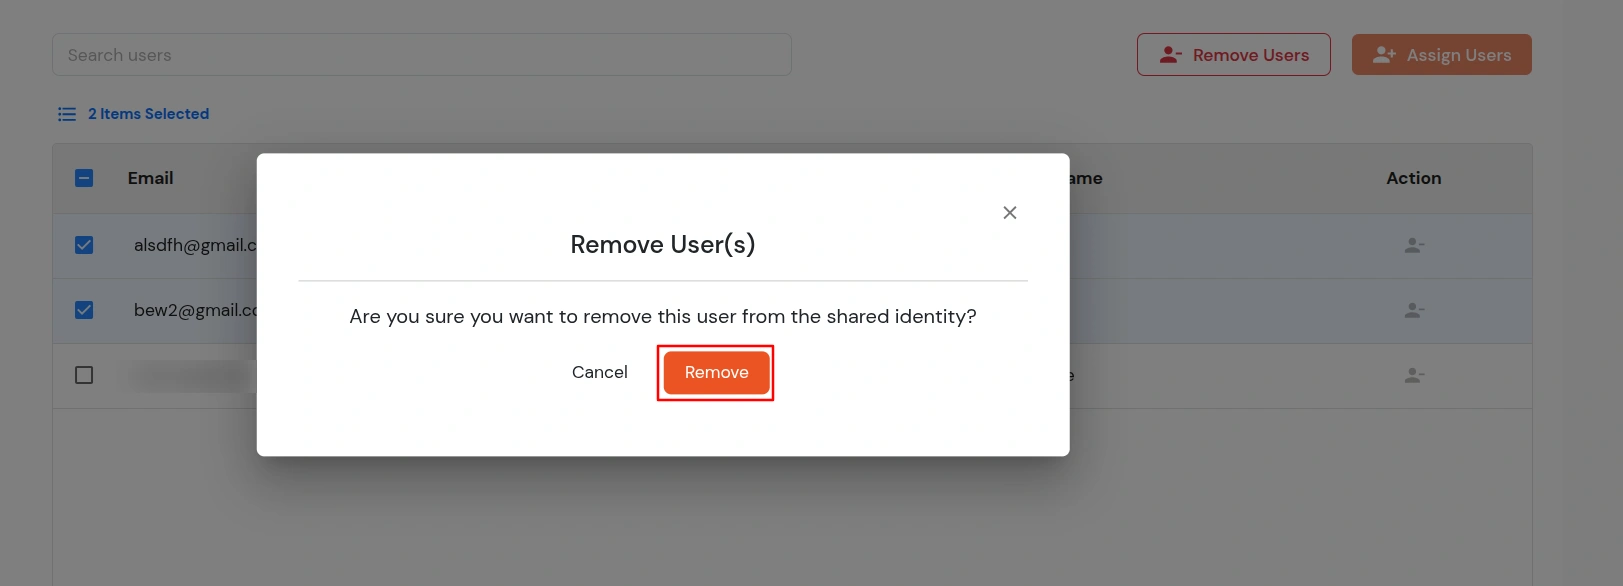
- To remove multiple users, select the users using the checkboxes and click the Remove Users button.

- In the confirmation modal, click Remove to confirm the deletion.
- To share the identity with more users, click the Assign Users button.

- Select the users you want to assign to the shared identity.
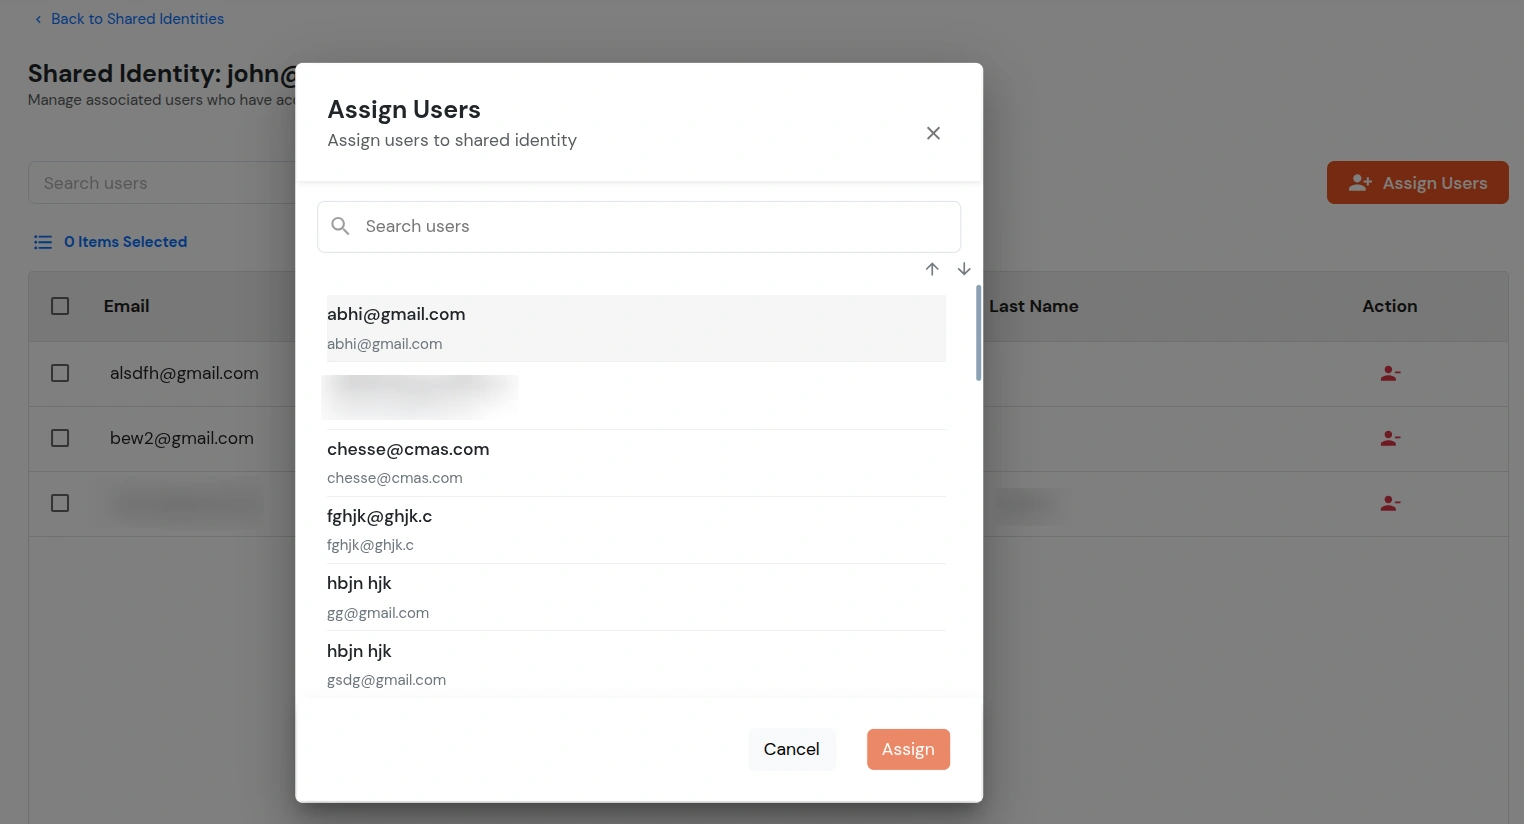
- Click the Assign button to assign the selected users to the shared identity.
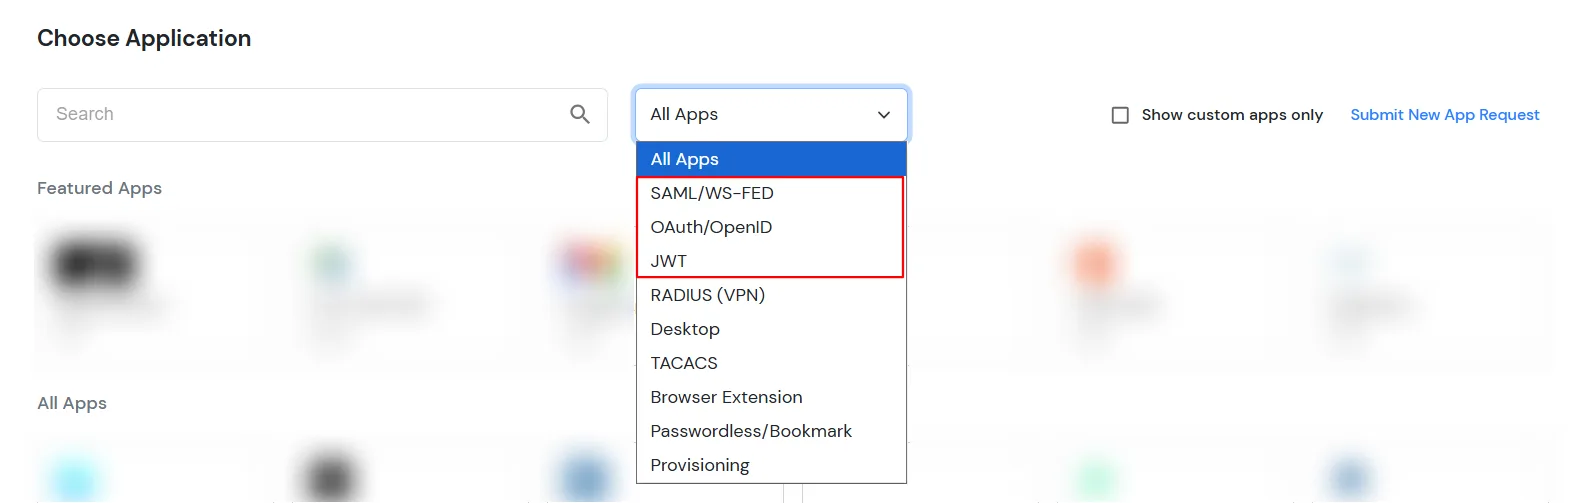
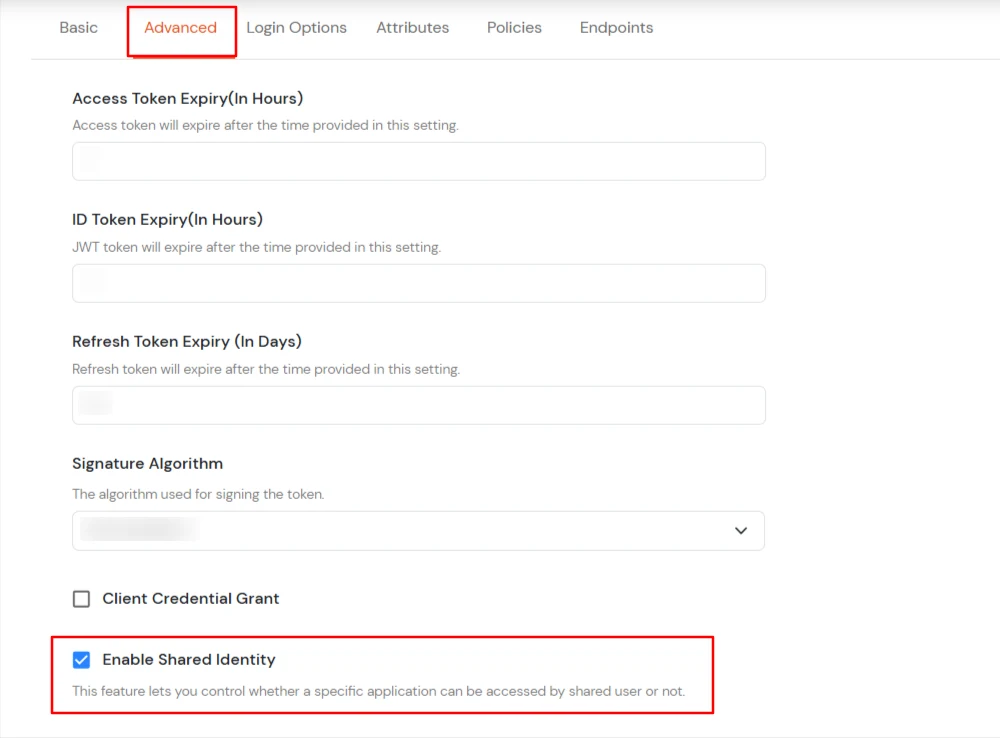
How to Enable Shared Identity for a Specific Application
How to Enable Shared Login for the End User Dashboard
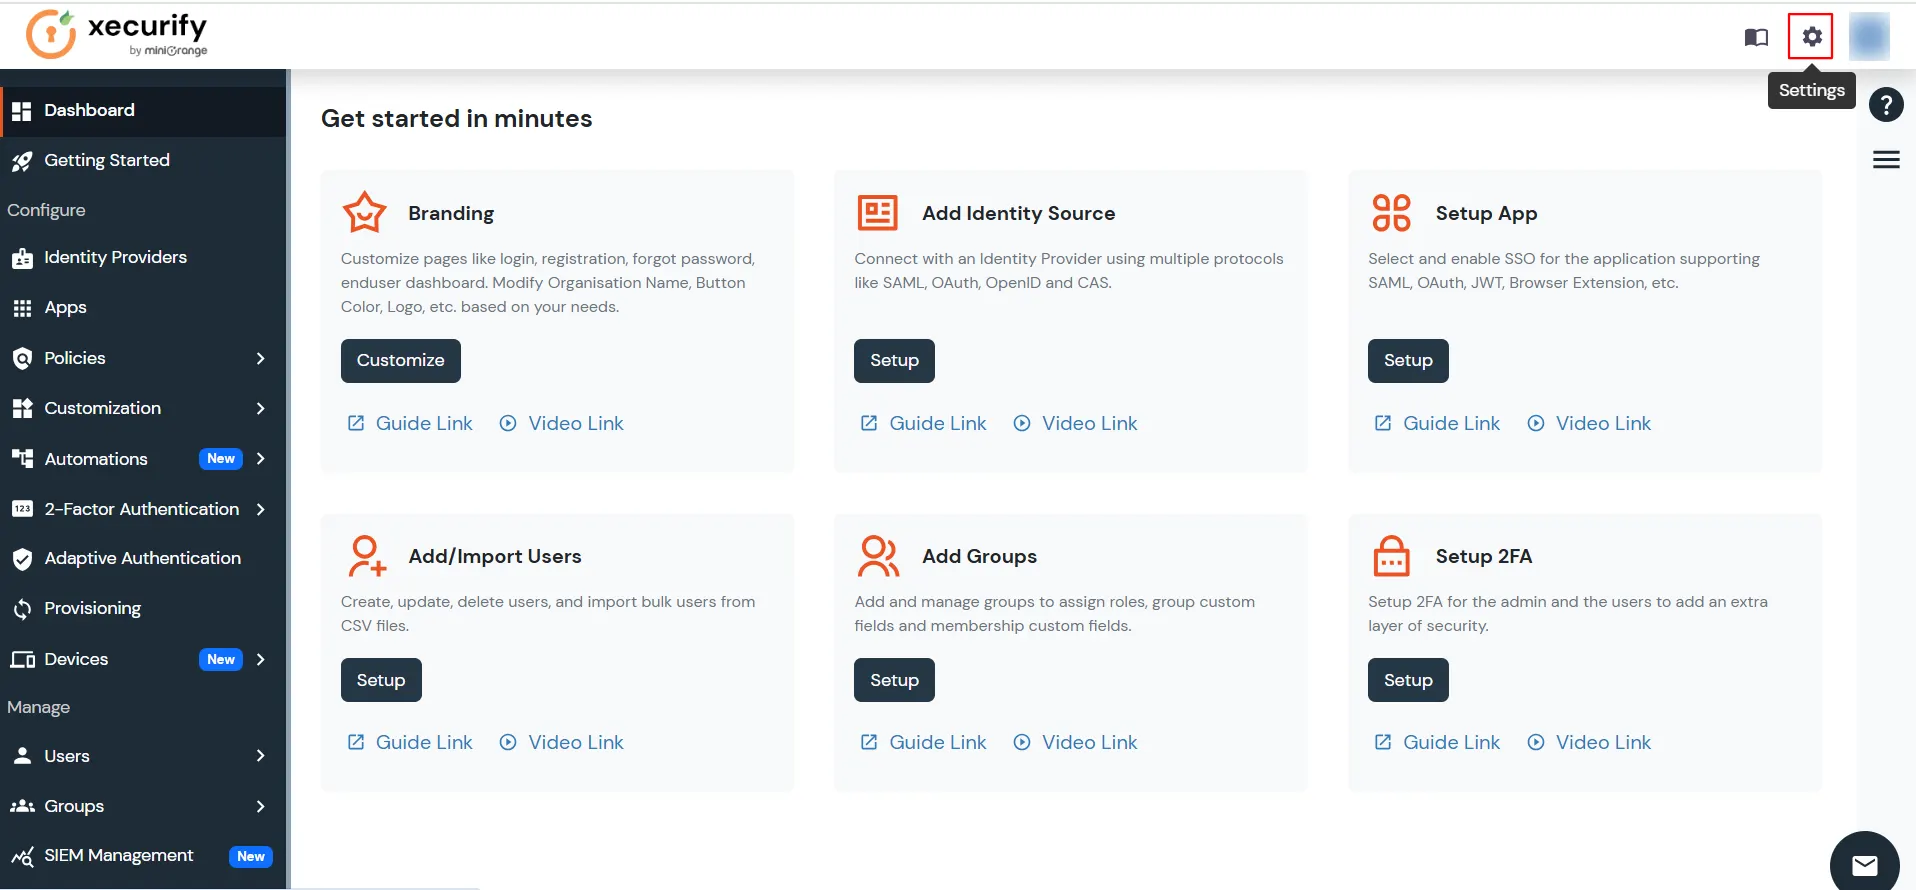
- Go to the top-right corner, click Settings icon.
- On the Settings page, use the search bar to type shared.
- Click on Enable Shared User Login for End User Dashboard.
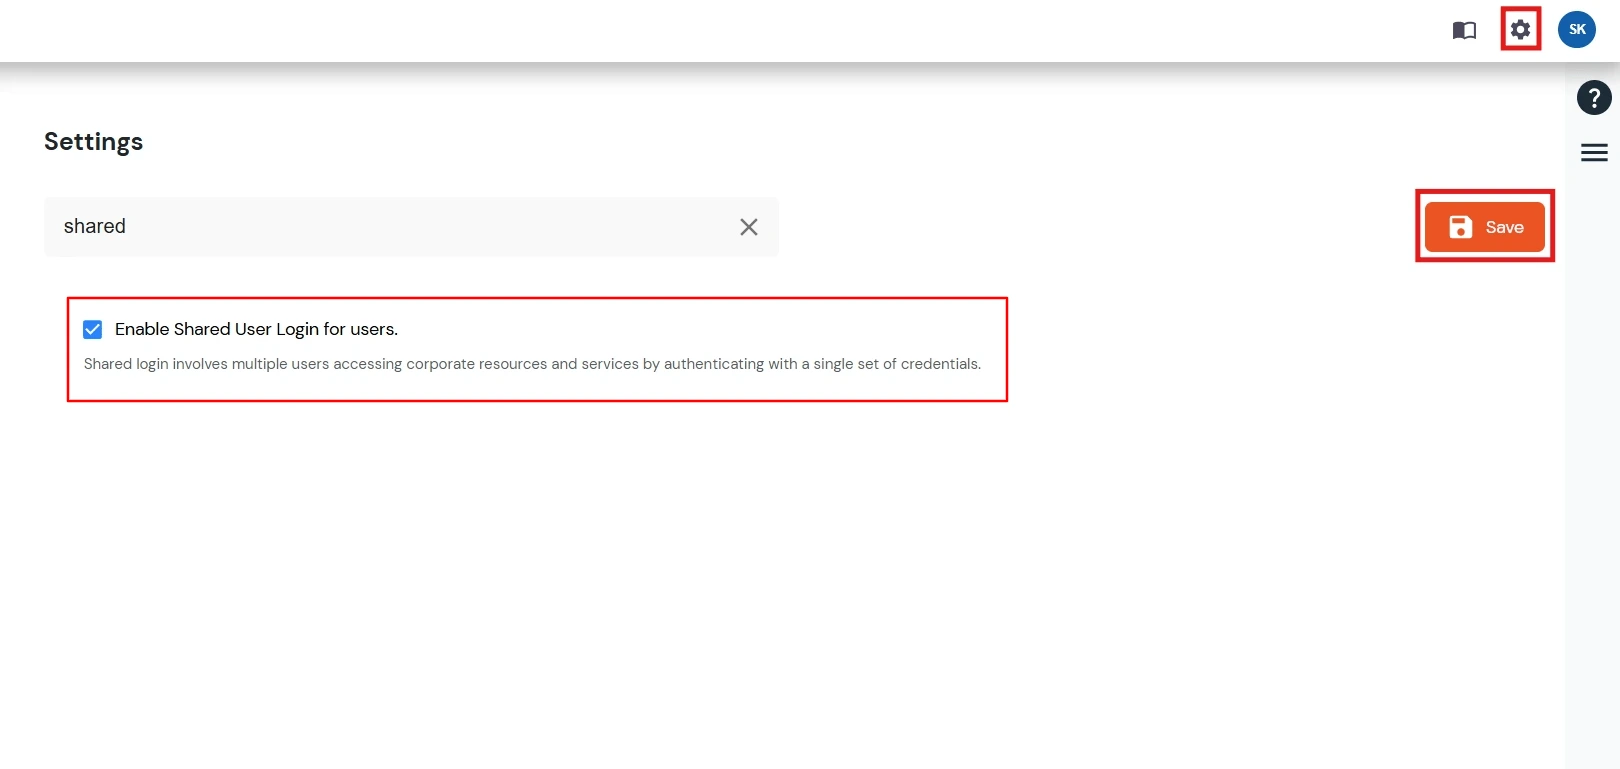
- Click the Save button in the top-right corner to apply the changes.