Hello there!

Need Help? We are right here!

Support Icon
miniOrange Email Support
success

Thanks for your Enquiry. Our team will soon reach out to you.

If you don't hear from us within 24 hours, please feel free to send a follow-up email to info@xecurify.com

Search Results:

×

Configure MFA Methods for Users


Why Two-Factor Authentication (2FA)?

Passwords, used for everything from finances to communication, have evolved from simple to complex combinations of characters. However, even the strongest passwords and management systems are vulnerable to phishing and data breaches. If passwords alone are insufficient, how do we secure accounts?

This is where 2FA becomes essential. It adds a second layer of identity verification, combining something you know (username and password) with something you have (phone or fingerprint). This dual approach drastically enhances security, rendering stolen passwords useless to attackers.


Integrate 2FA for Users

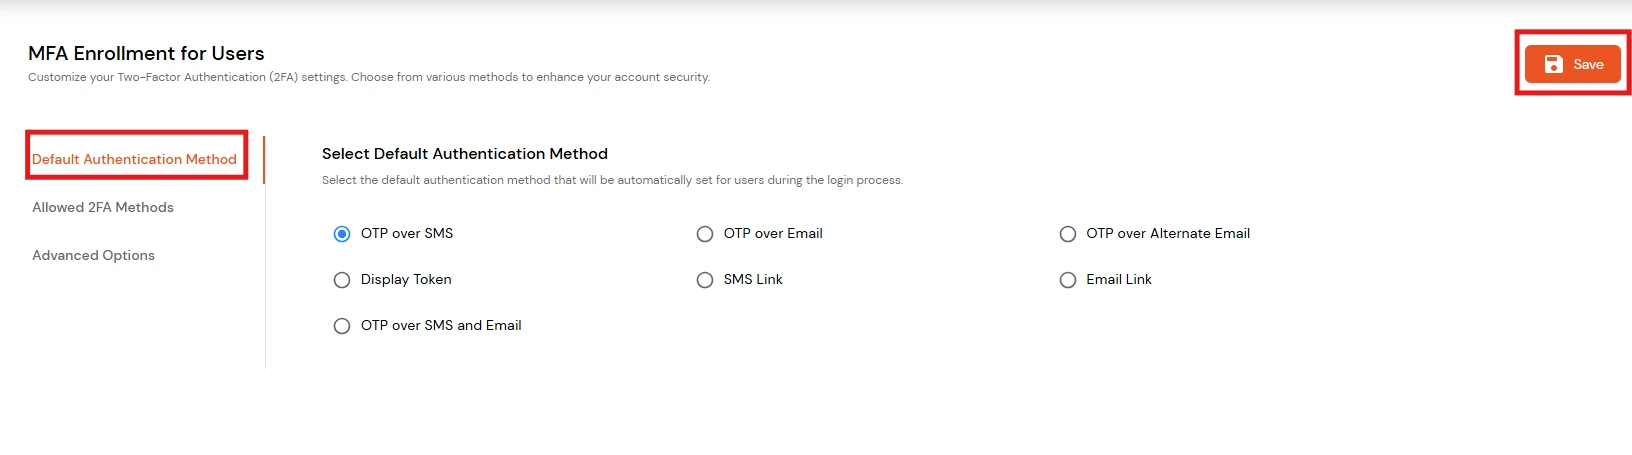
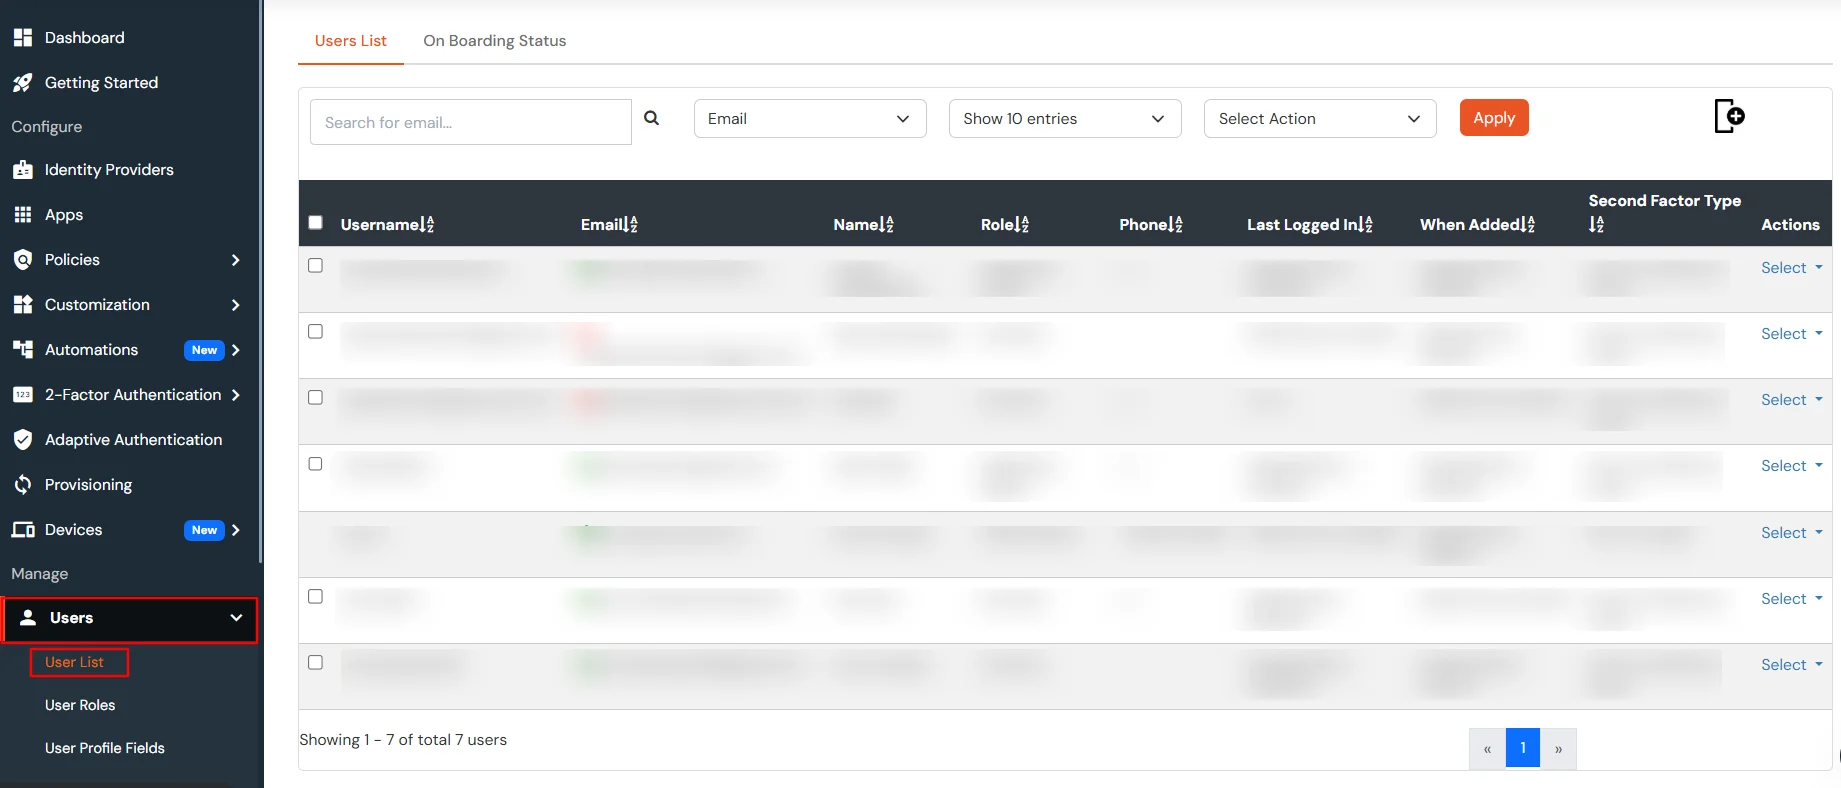
To configure two-factor authentication (2FA) for users, you need to select one of the methods from the "default Authentication methods" section.

Authentication methods include OTP over SMS, OTP over email & OTP over both SMS and email. You can choose Authentication methods for your end-users in the following way:

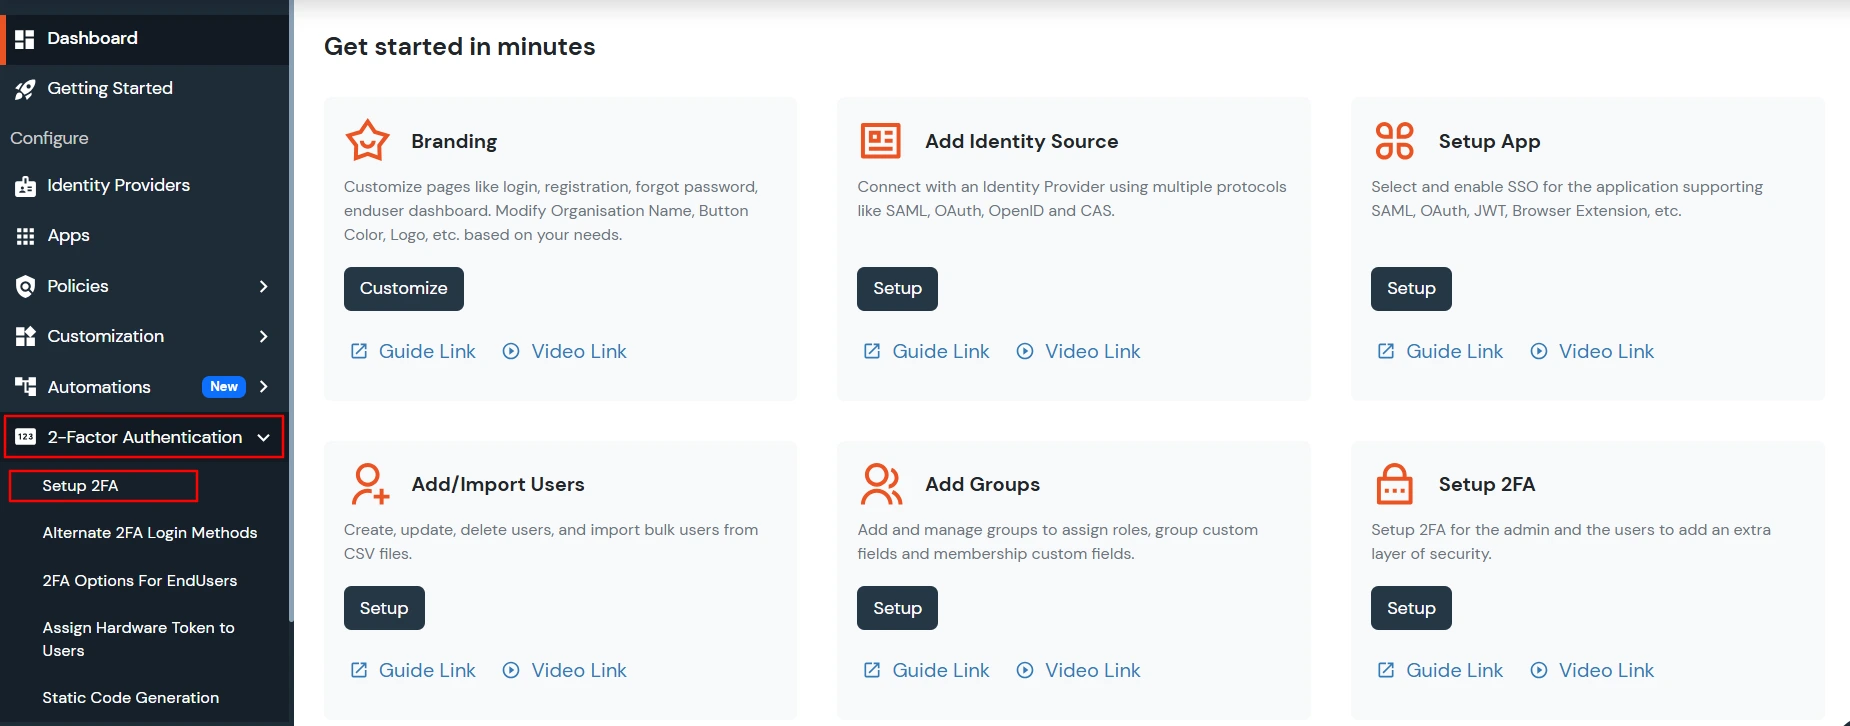
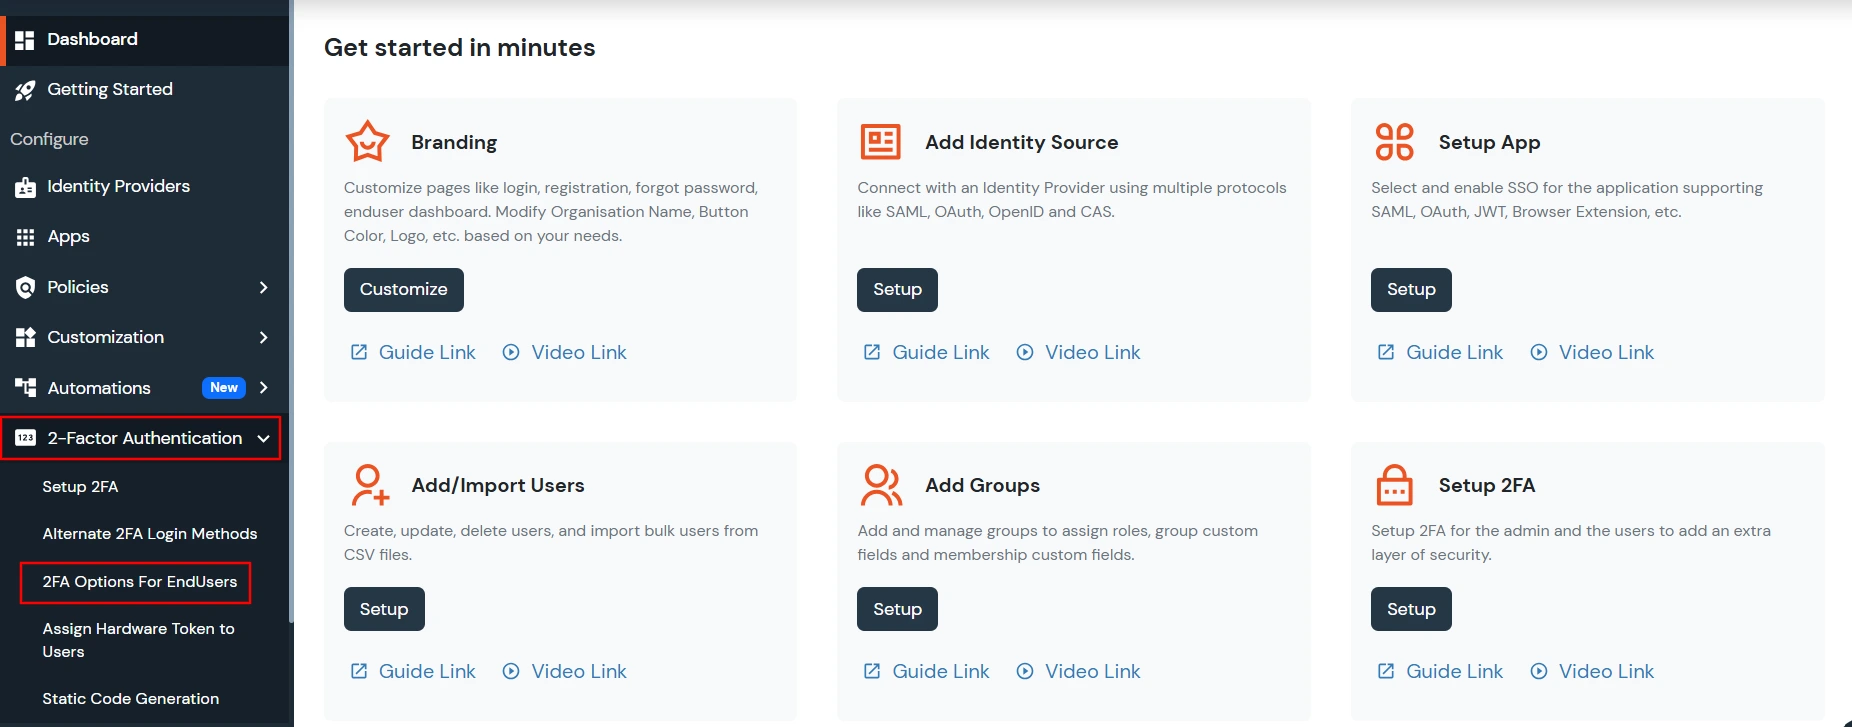
Log into the miniOrange Admin Console and select 2FA Options for EndUsers from the 2-Factor Authentication tab.

Click on 2-Factor Authentication and select 2FA Options for EndUsers

Select 2FA Options for EndUsers


4 Key 2FA Configuration Functions

1. Select Default 2FA Authentication Method

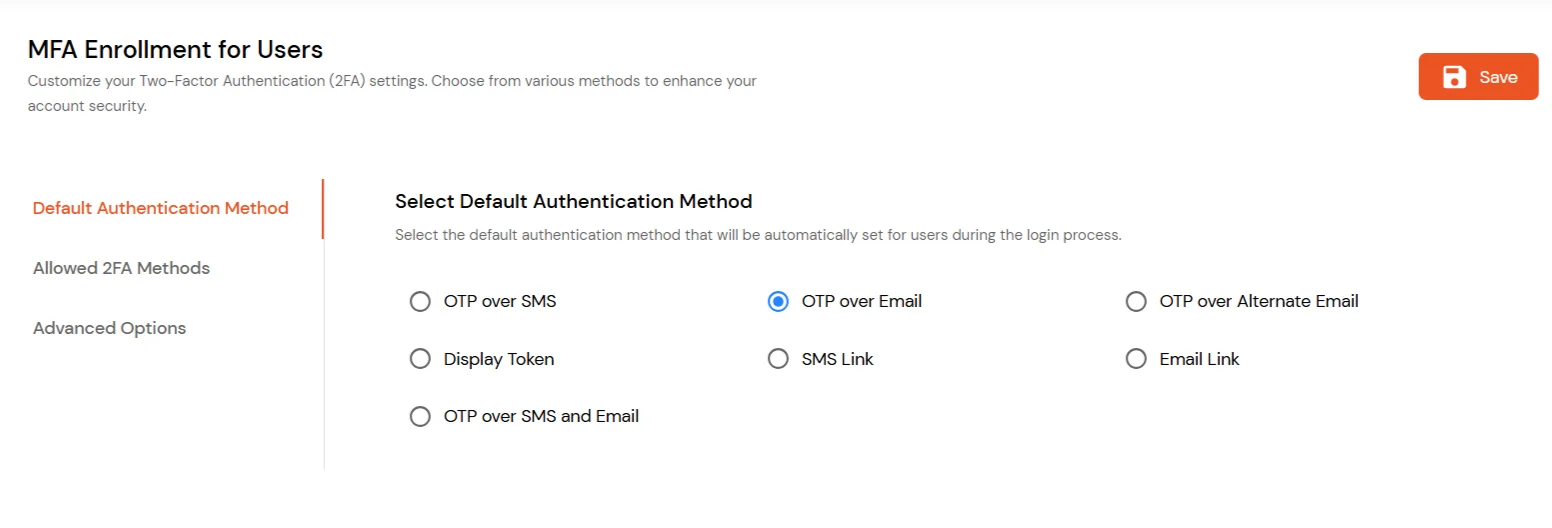
With this method, you can select the default 2FA for end users.

  • If you want to set OTP over SMS as the default method for your endusers. Start by clicking on the checkbox of OTP over SMS.
  • Then click on Save.
  • select sms over email 2fa method for user

  • To verify, the admin has to select the Users tab from the left navigation bar.
  • Click on the User List.
  • Go to users >> uesr list

  • In this list, you can check for the end user and the corresponding second-factor type. If the default 2FA method set by you is the same as the second-factor type over here, then you have configured it successfully.
  • verify the user and its 2FA method

2. Select the 2FA methods allowed

  • The admin has a choice to show the end-users all or any combination of 2FA methods.
  • The below screenshot presents all 2FA methods that are shown to the end users.
  • 2fa methods shown to end users

  • Admin can choose one or more options. Moreover, they can choose to enable and disable the checkboxes.
  • Then click on Save.
  • So in the end-user dashboard, he would be just able to see the above-enabled methods to set 2FA for himself.

3. Advanced Options

    Click Advanced Options

  • Select the 2FA method at the time of login:
    Enable this option to allow users to choose their preferred 2FA method at login.
  • Send Authentication QR code via Email:
    • Enable this option to send the Authenticator QR code to users via email during onboarding, allowing them to activate their chosen Authenticator as their MFA method.
    • Select Authenticator

    • Select Authenticator (Optional): If this option is enabled, choose the preferred authenticator (e.g., Google Authenticator, Microsoft Authenticator, or Authy) from the dropdown, then click Save.
  • miniOrange Authenticator Biometric Setting:
    Enable this option to mandate biometric authentication for Push Notifications in the miniOrange Authenticator app. Checkbox the option and click Save to activate this setting.
  • Grid Pattern Size:
    This setting defines the size of the grid used in the Grid Pattern MFA method. The grid is square, and you can choose from the following sizes: 4x4, 5x5, 6x6, 7x7, 8x8.
  • Grid Pattern OTP Length:
    This defines how many tiles the user must select inside the grid to generate the OTP. You can configure a length between 4 to 8.
    [Note: For users who have already configured Grid Pattern Size & Grid Pattern OTP Length, the configurations will not get updated.]

  • miniOrange Authenticator Number Matching Settings:

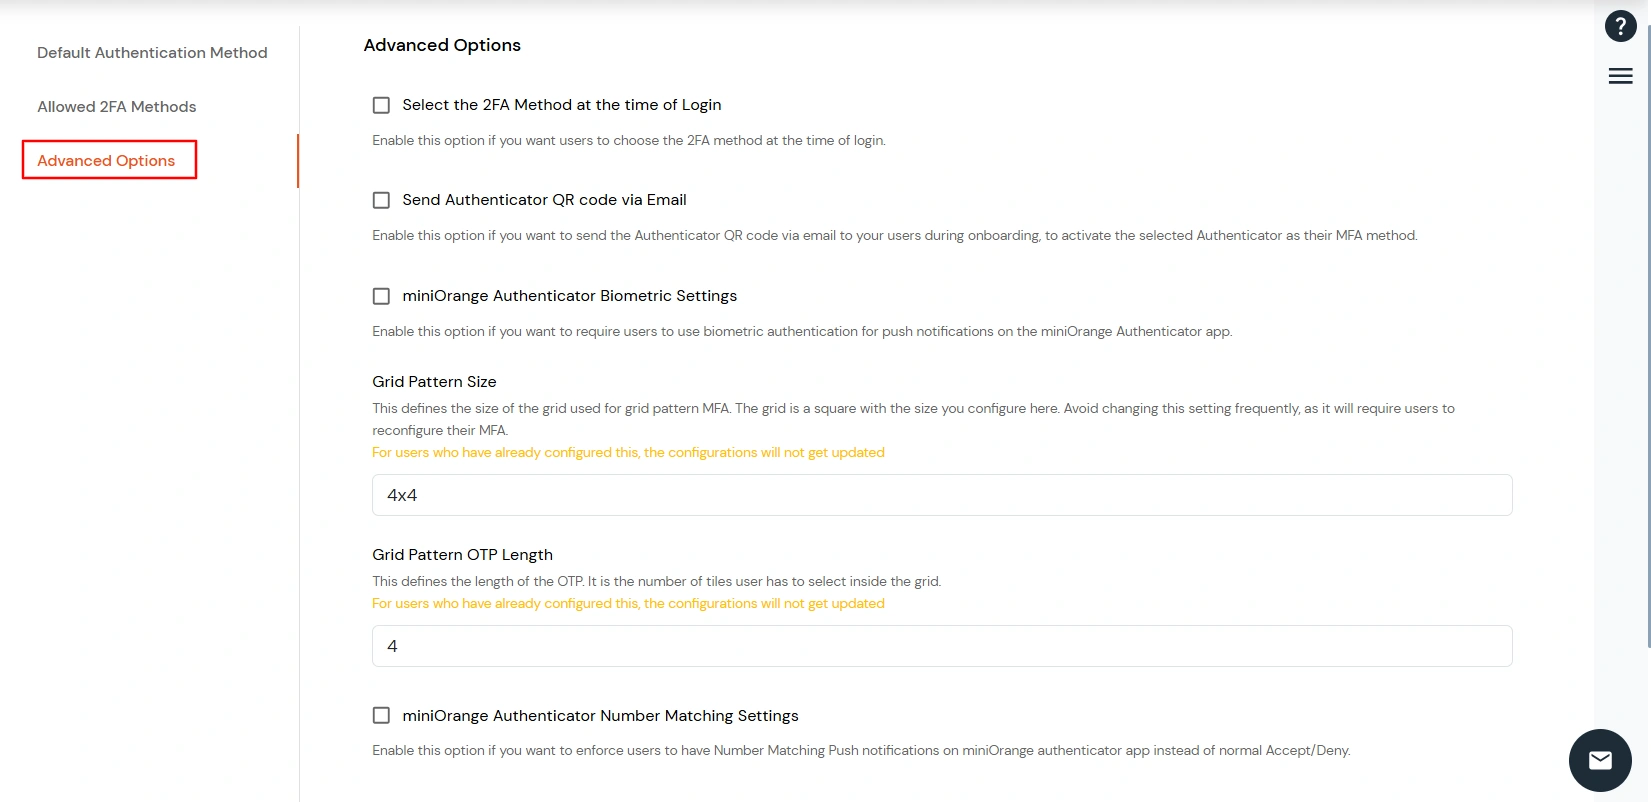
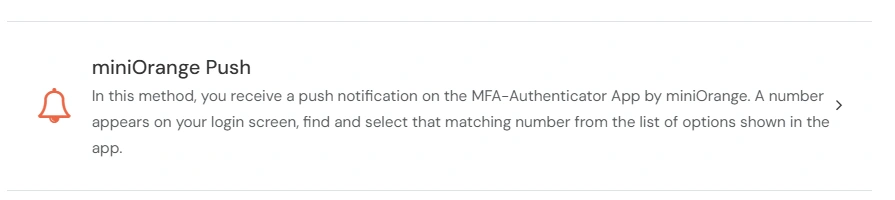
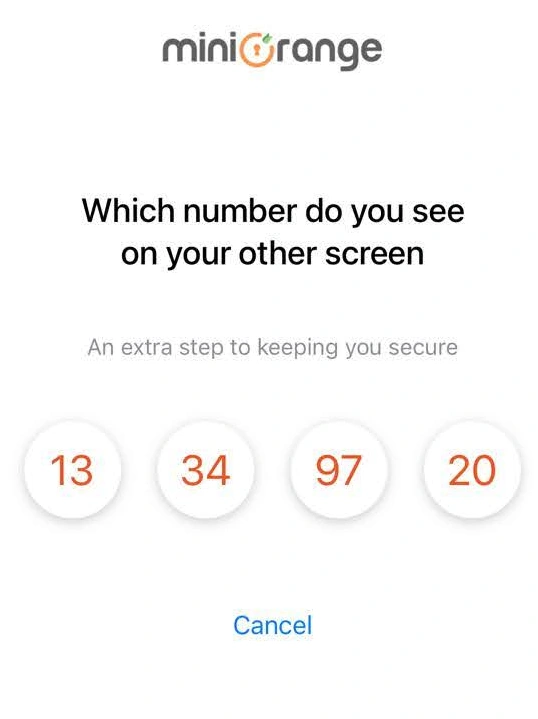
    Number Matching MFA displays a random number on the login screen and sends a push notification to the miniOrange Authenticator app. The user must confirm the same number to approve the login; incorrect or timed-out responses are rejected. This prevents accidental approvals and protects against MFA fatigue attacks.

    Configuration:

    • A new Number Matching toggle is introduced on the 2FA Options for End Users page. When enabled, this flow replaces the existing Accept/Deny push authentication.
    • miniOrange Authenticator Number Matching Settings

    Authentication:

    • When an end user initiates login and selects miniOrange Push, the browser displays a random number.
    • Select miniOrange Push

      Display Random Number

    • At the same time, a push notification is sent to the miniOrange Authenticator mobile app containing four different numbers.

    • Number Matching Push Notifications

    • The user must select the same number shown on the browser in the miniOrange Authenticator app to approve authentication.
    • Authentication is successful only if the selected number matches; otherwise, the request is rejected.

4. Verify 2FA for end-users

  • Click on Customization at the left side panel and select Login and Registration Branding.
  • select branding customizations

  • Here you will see Login Page URL for Organization's users.
  • Copy user URL

  • Copy this Login Page URL in a browser and enter miniOrange credentials. You will be redirected towards end-user dashboard. From the left panel click on configure 2FA in end-user dashboard.
  • Here you will see the methods you selected for the particular end-user.
  • configure 2FA for users accordingly

  • Now you can configure the default method for end users accordingly.