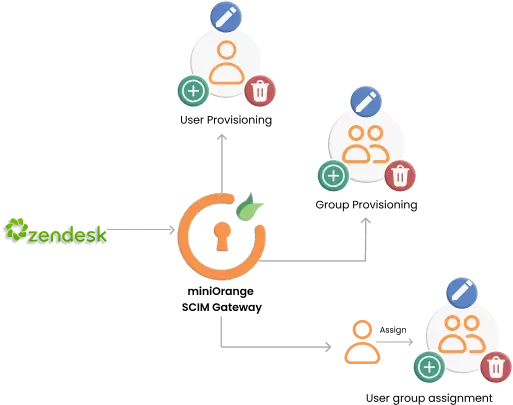
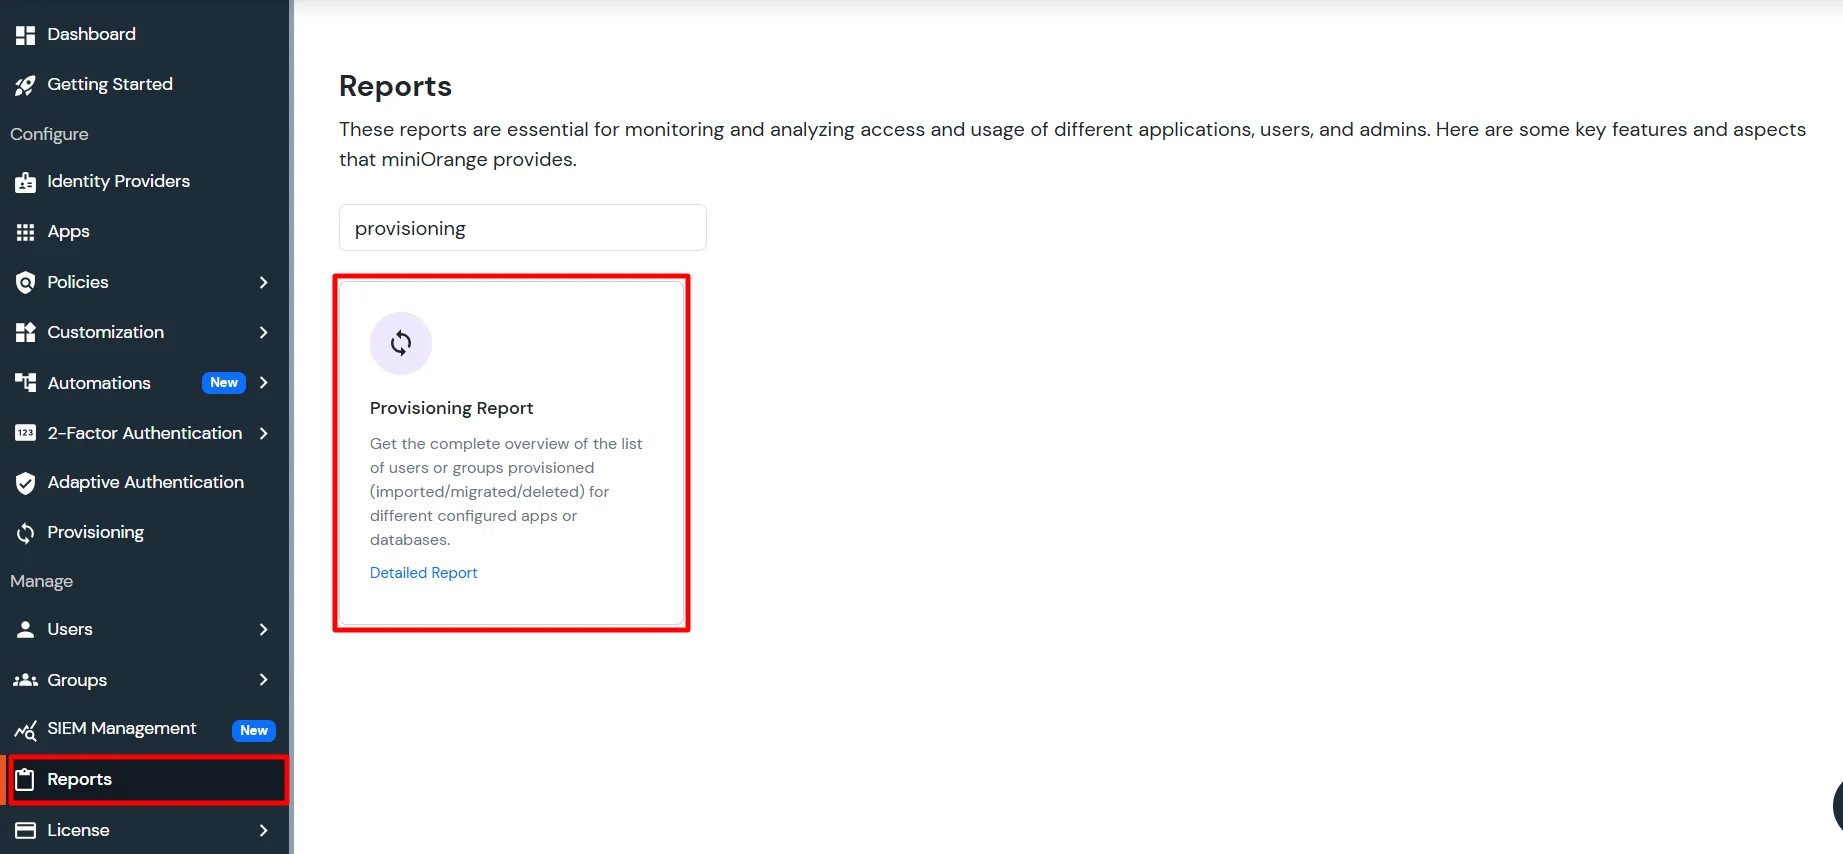
Zendesk Provisioning and Deprovisioning
Zendesk SCIM Provisioning allows to create account in a simplified way and link Zendesk users' account to their existing or new apps. Zendesk Provisioning automates user provisioning with their identities.
Provisioning saves time when setting up new users and teams, and also manages access privileges through the user lifecycle. miniOrange can create, read, and update user accounts for new or existing users, remove accounts for deactivated users, and synchronize attributes across multiple user stores.
Zendesk SCIM User provisioning and deprovisioning actions are bi-directional, so you can create accounts inside an external application and import them into miniOrange, or alternatively create the accounts in miniOrange and then push them out to any linked external applications.
Zendesk SCIM Deprovisioning means deleting a user and removing their access from multiple applications and network systems at once. Deprovisioning action is triggered when an employee leaves a company or changes roles within the organization. The deprovisioning features increase your organization's security profile by removing access to sensitive applications and content from people who leave your organization.
Provisioning & Deprovisioning Scenarios
miniOrange provides Provisioning solutions for all scenarios of user management (provisioning), which includes AD Integration, LDAP Integration and automated provisioning for all External Applications such as Zendesk , Google Workspace, Workday, etc
Follow the Step-by-Step Guide given below to setup Zendesk Provisioning
1. Configure Provisioning in Zendesk
- Log in as an admin user to your Zendesk account by using the following URL
https://(Zendesk Team Domain).zendesk.com
- Navigate to Admin > CHANNELS > API > OAuth Clients.
- In the All Oauth Clients section, click Add OAuth client.
- In the Create a new OAuth client section, specify the Client name and Unique identifier.
- Click Save.
- Copy the Client Secret that is generated.
- Note the following parameters that are required to configure provisioning in Verify.Team Domain,Unique identifier,Client secret,
Username,Password.
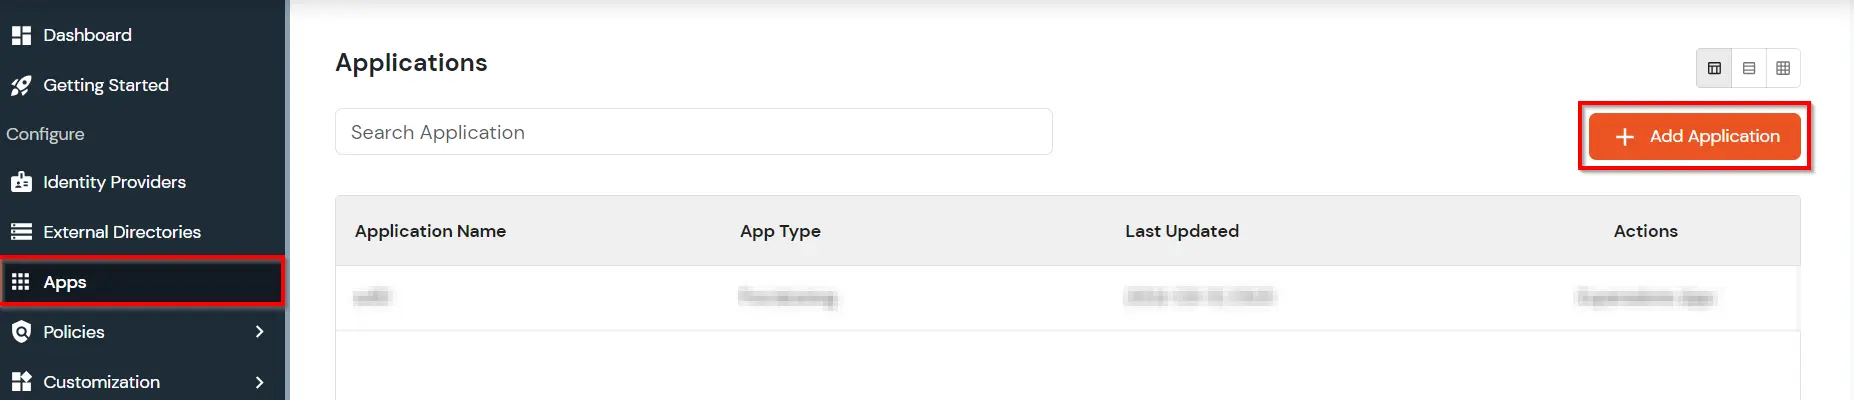
2. Configure SCIM for Zendesk in miniOrange
- Login into miniOrange Admin Console.
- Go to Apps and click on Add Application button.
- Under Choose Application, select Provisioning from the All Apps dropdown.
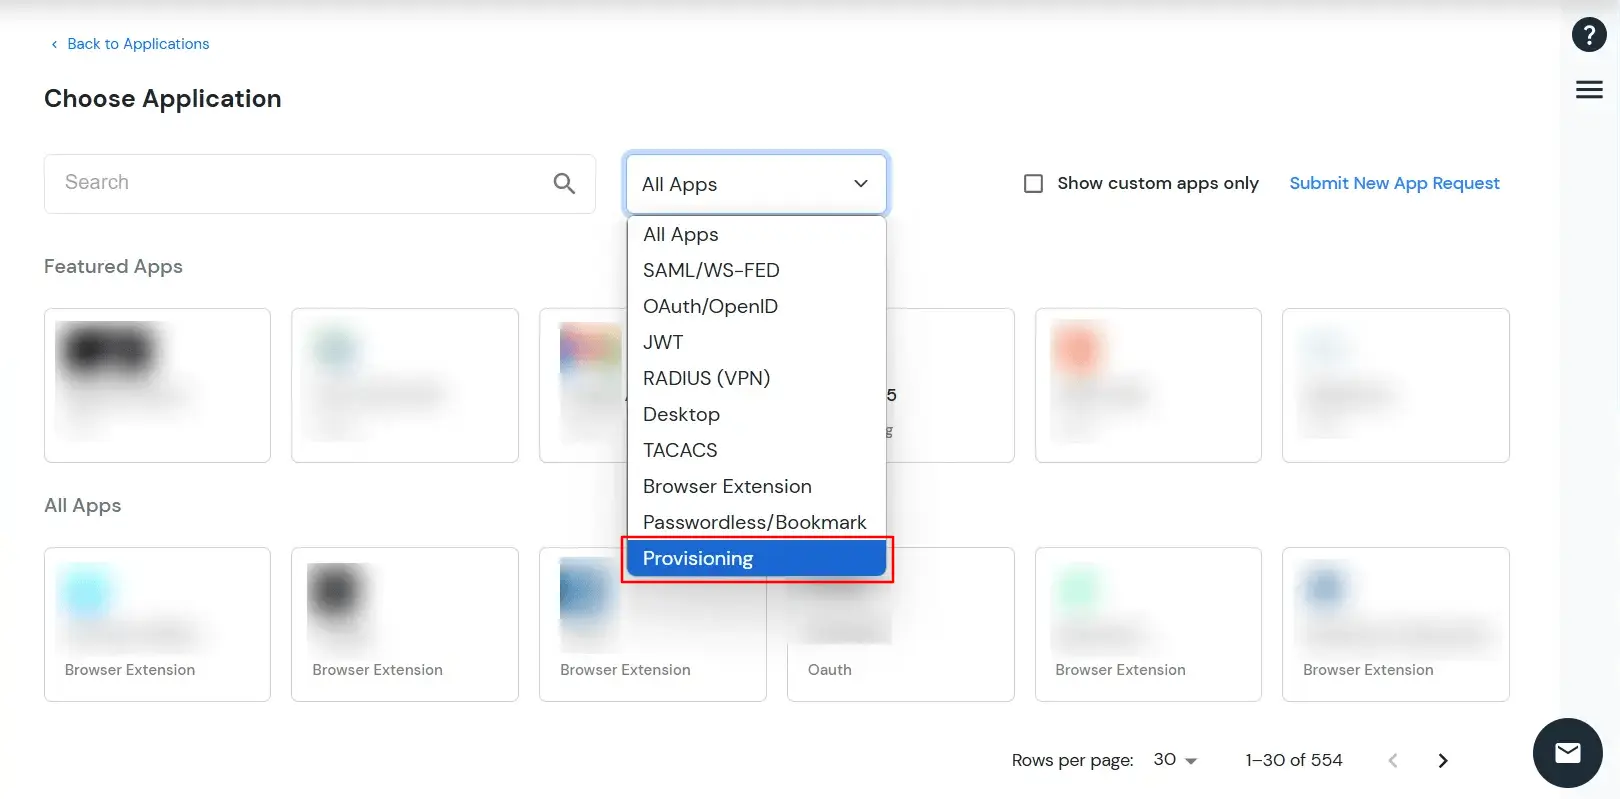
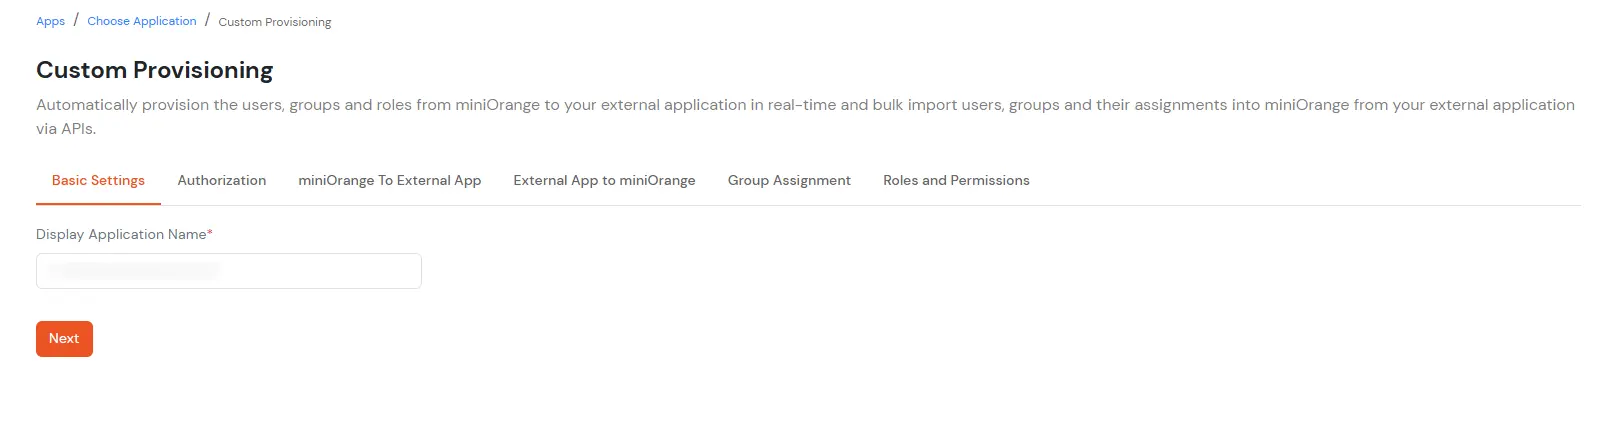
- Search for your application from the list, if your application is not found. Search for Custom provisioning and you can set up your app via Custom provisioning.
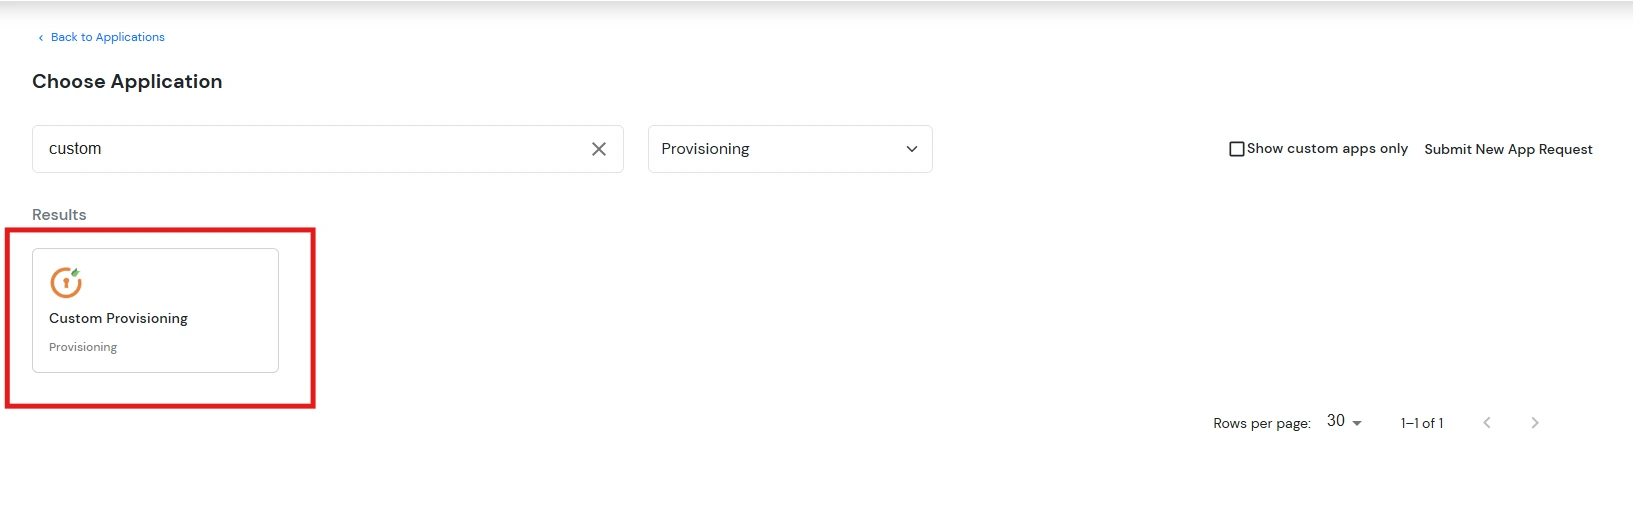
- Enter the Display Application Name and then click on Next.
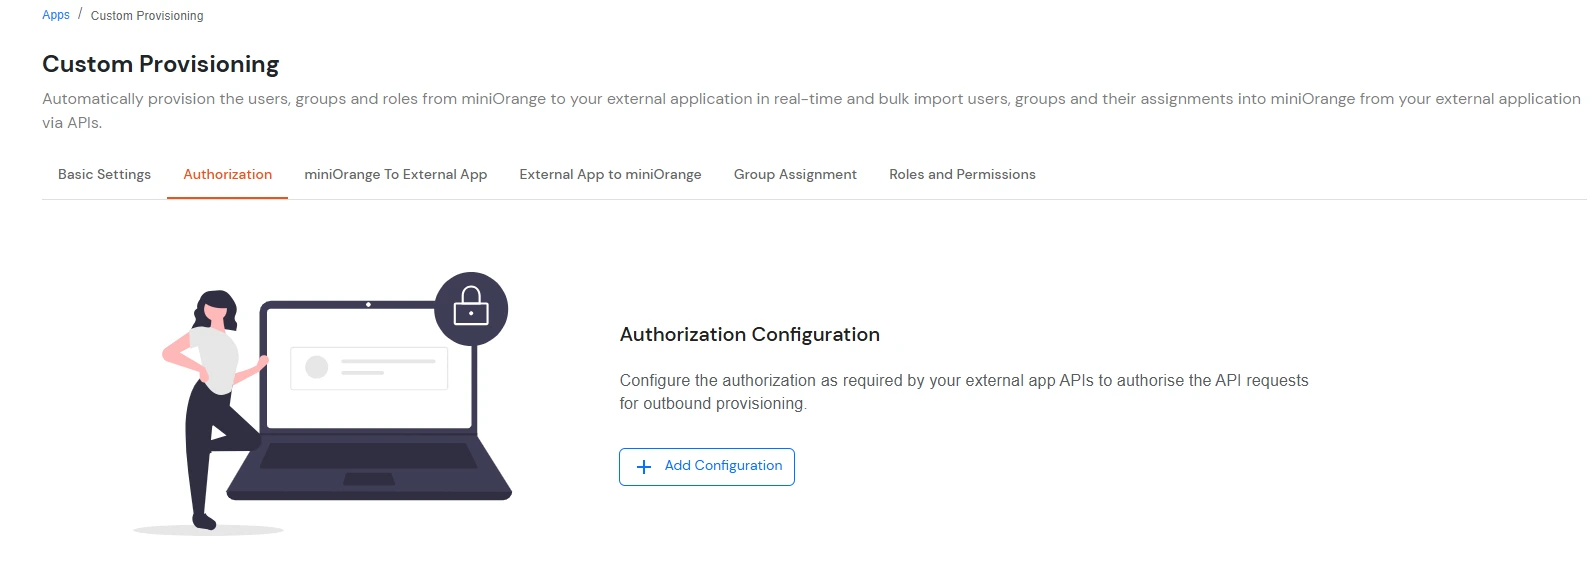
3. Add Authorization for the API’s
- Select Authorization and click on Add Configuration.
- Select OAUTH 2.0 and enter the client ID and client secret fetched from Step 1.
- Also enter following details as:
- Access Token: https://api.hubspot.com/oauth/authroize
- Scope: settings.users.write , settings.users.read
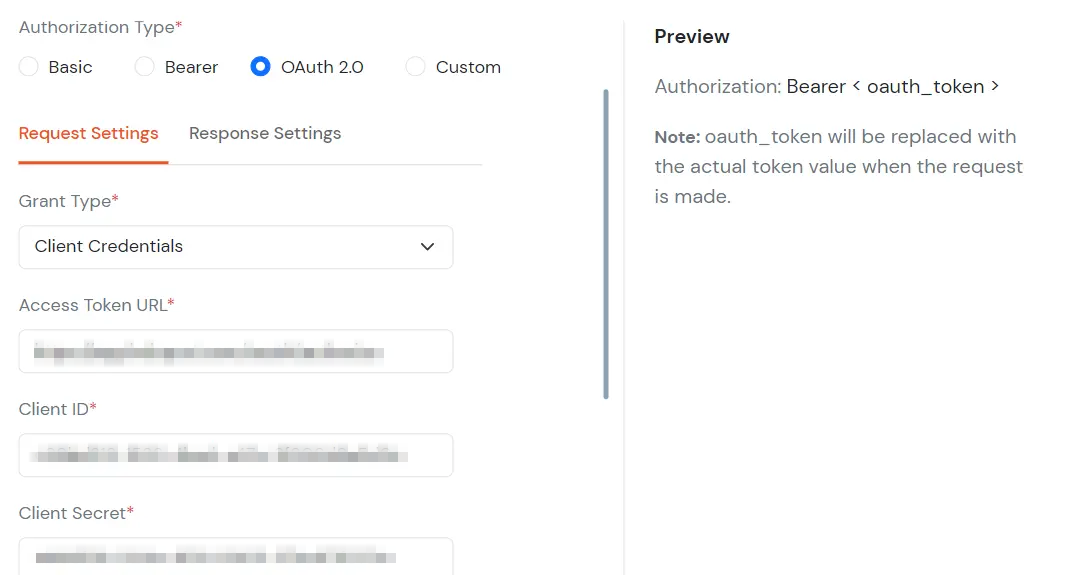
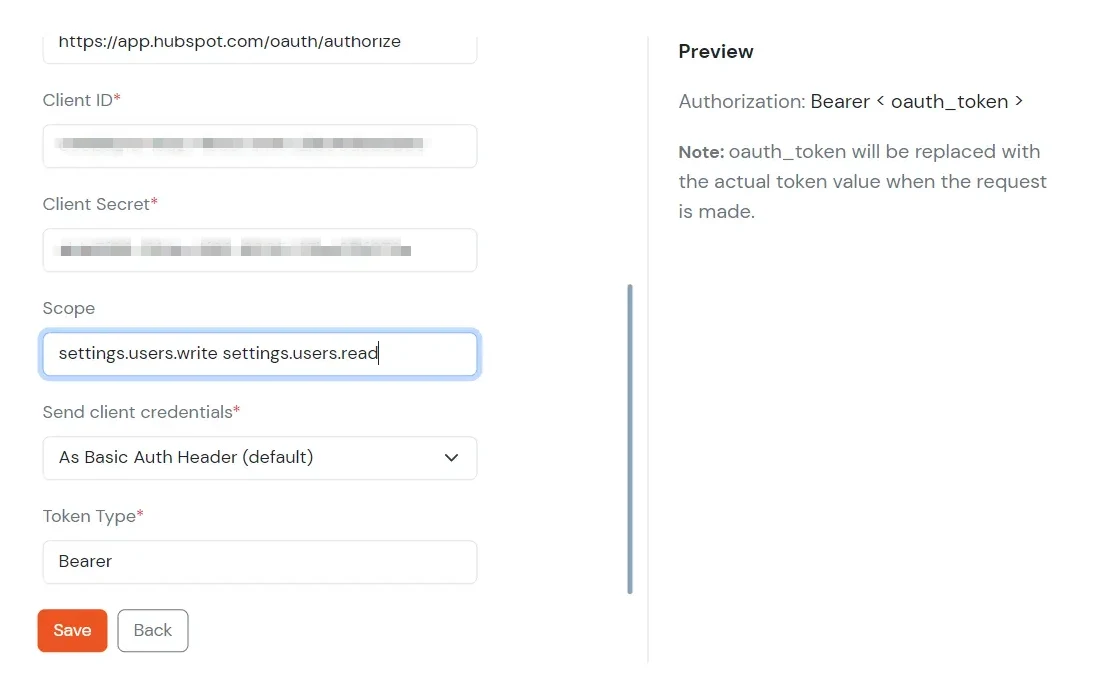
- Save the authorization configurations.
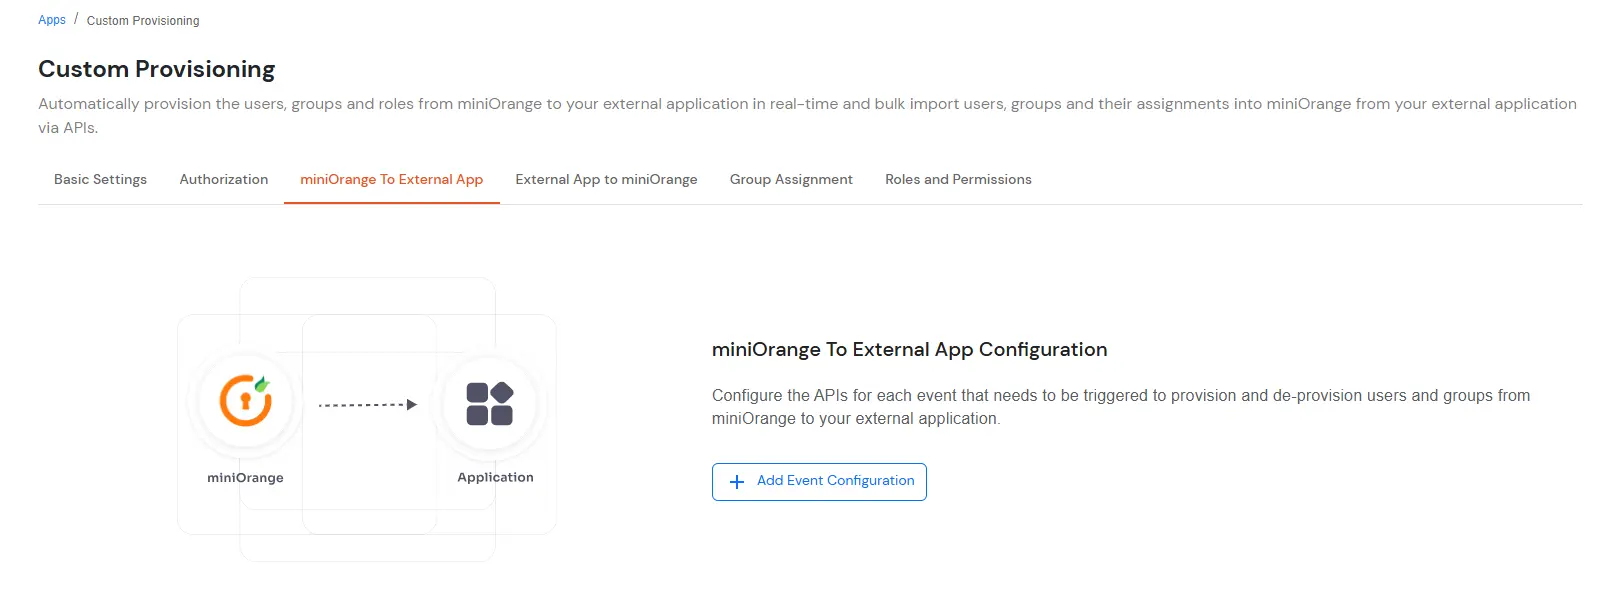
4. Create User
- Select miniOrange to External App and click on Add Event Configuration.
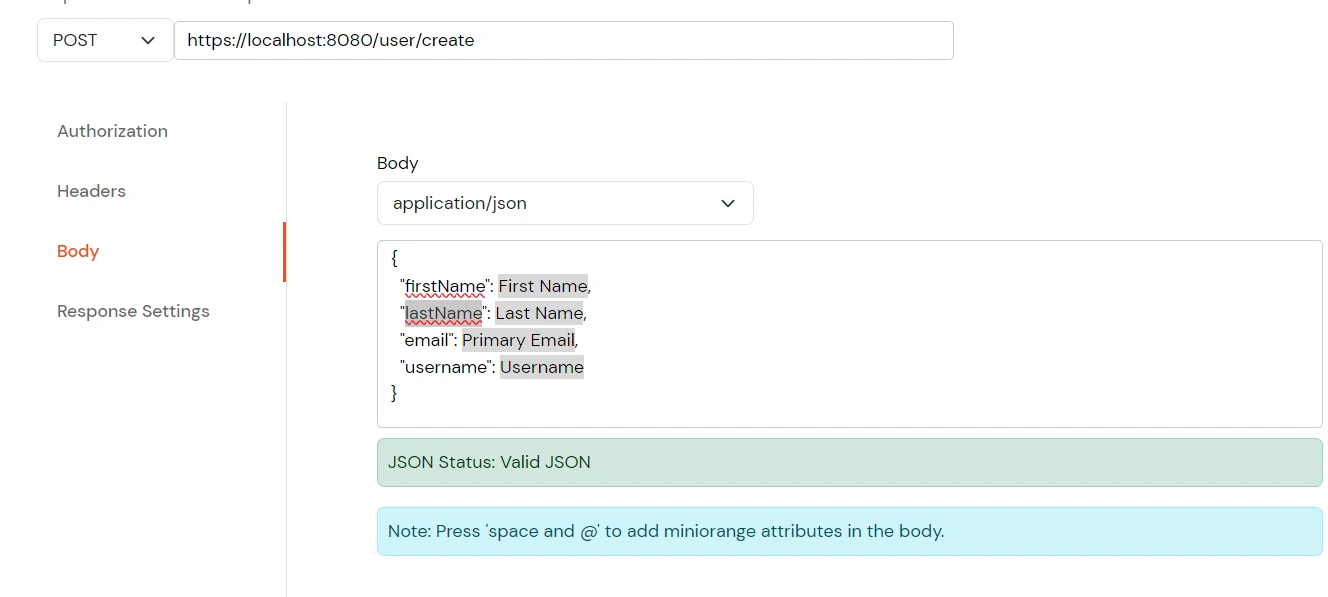
- Add the Event Configuration Name and the API endpoint.
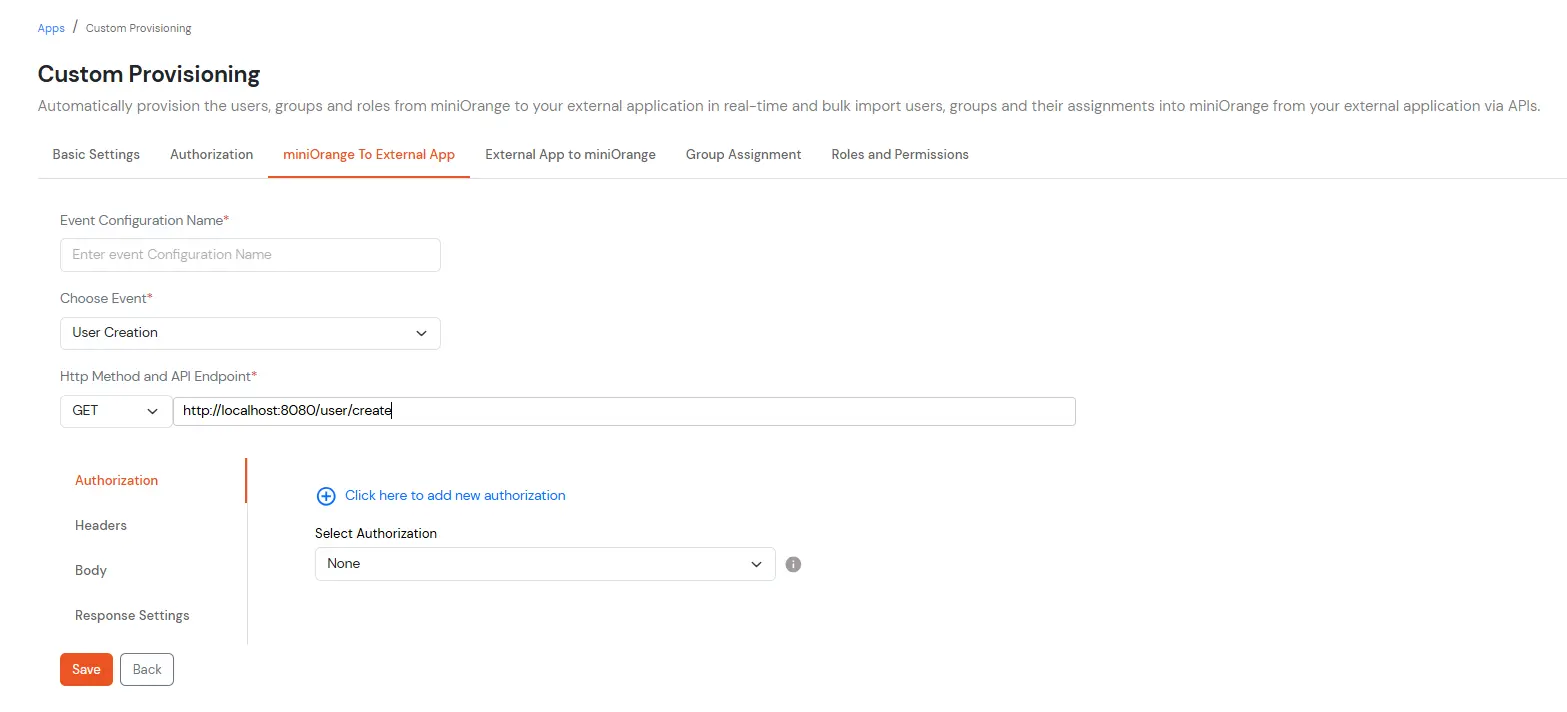
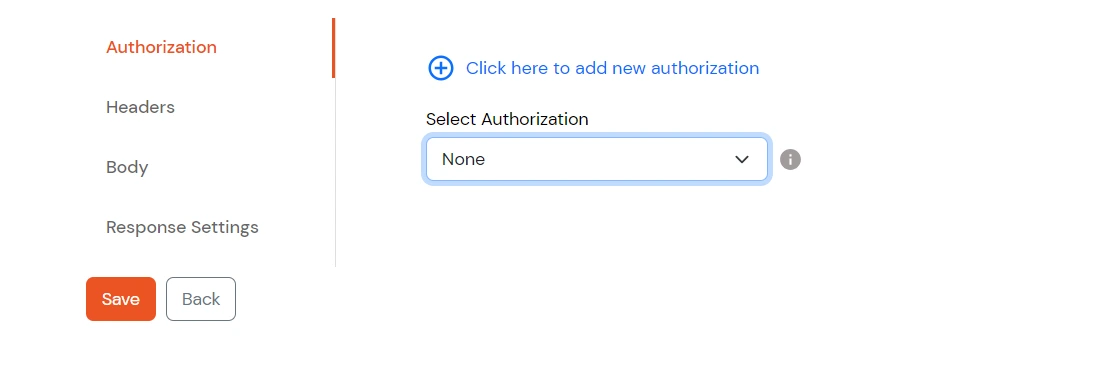
- Select the Authorization which you had created in Step 2.
- Add Headers if the API request any other information.
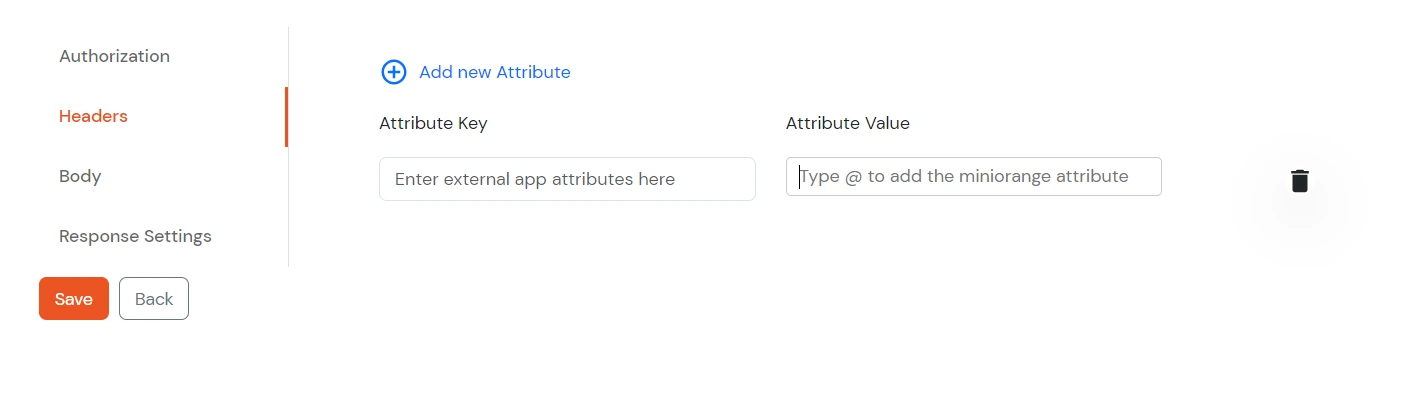
- In the request Body, map the parameters of the API with attributes of a user in miniOrange using @ symbol (You will receive a dropdown to select the user attribute).
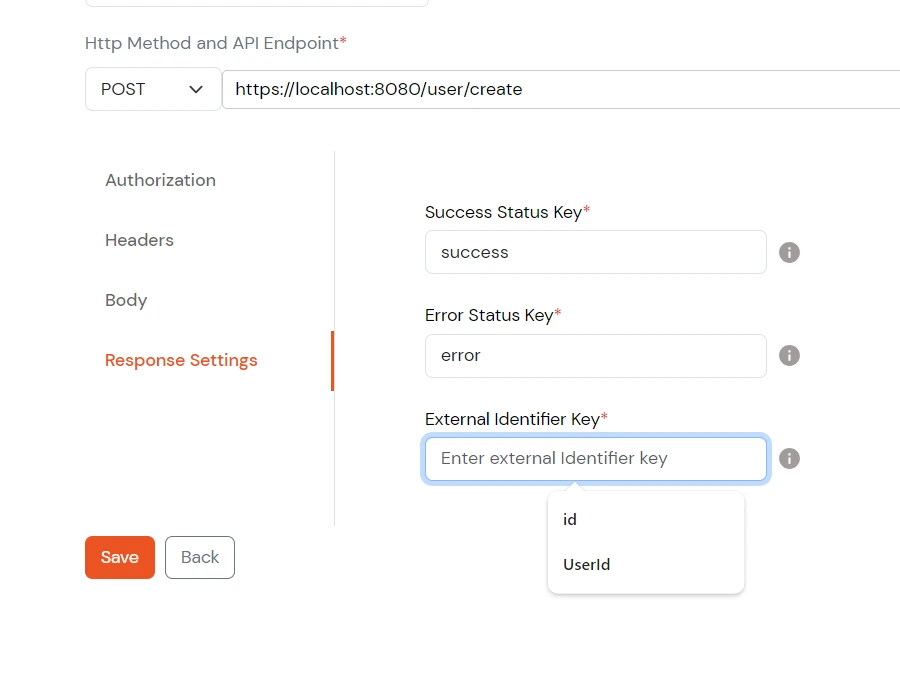
- Store the user identifier we will receive in the response to map it with other user related API's and click on Save.
- Turn on provisioning for this event to activate the configuration.

5. Update User
- Select End User Updated from the choose Event dropdown.
- Add @ExternalUserId at the end of your API Endpoint to pass the user identifier, and click Save.

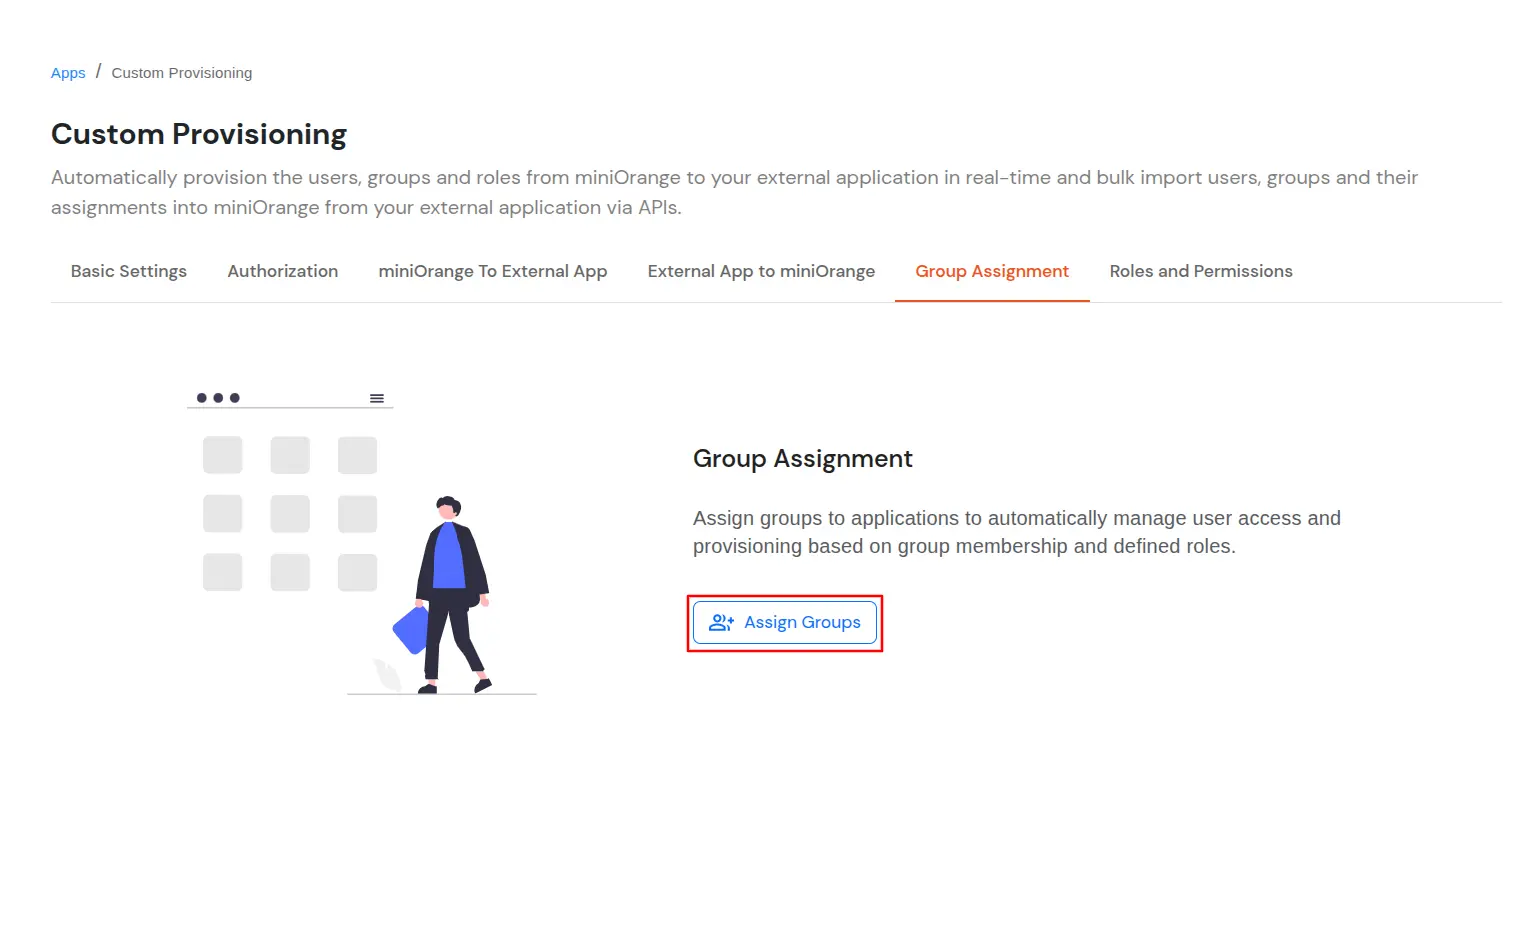
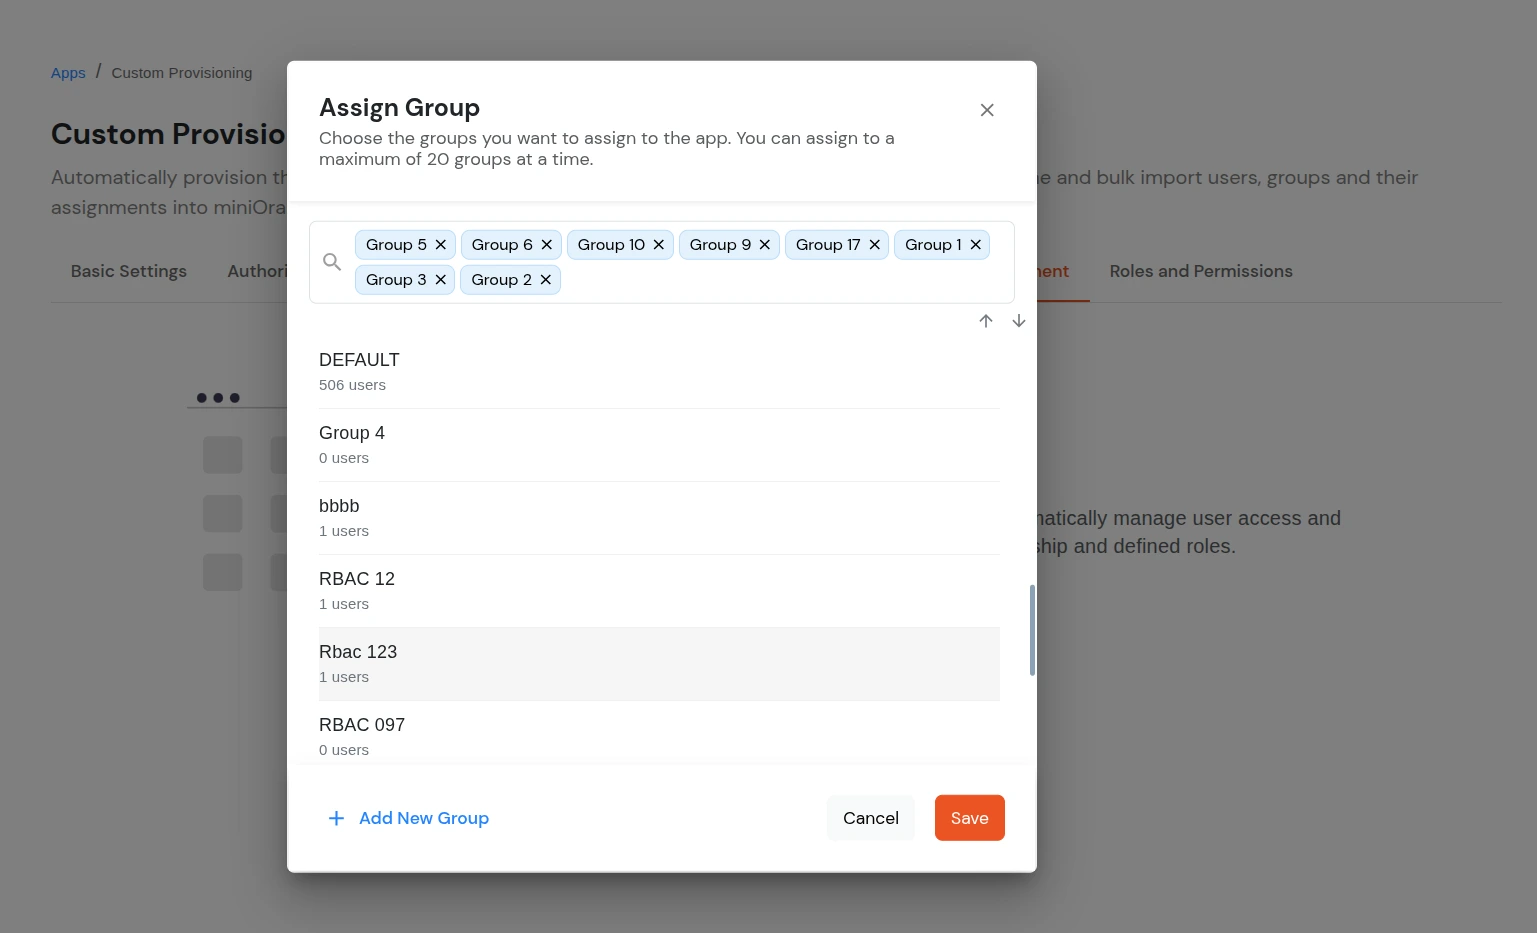
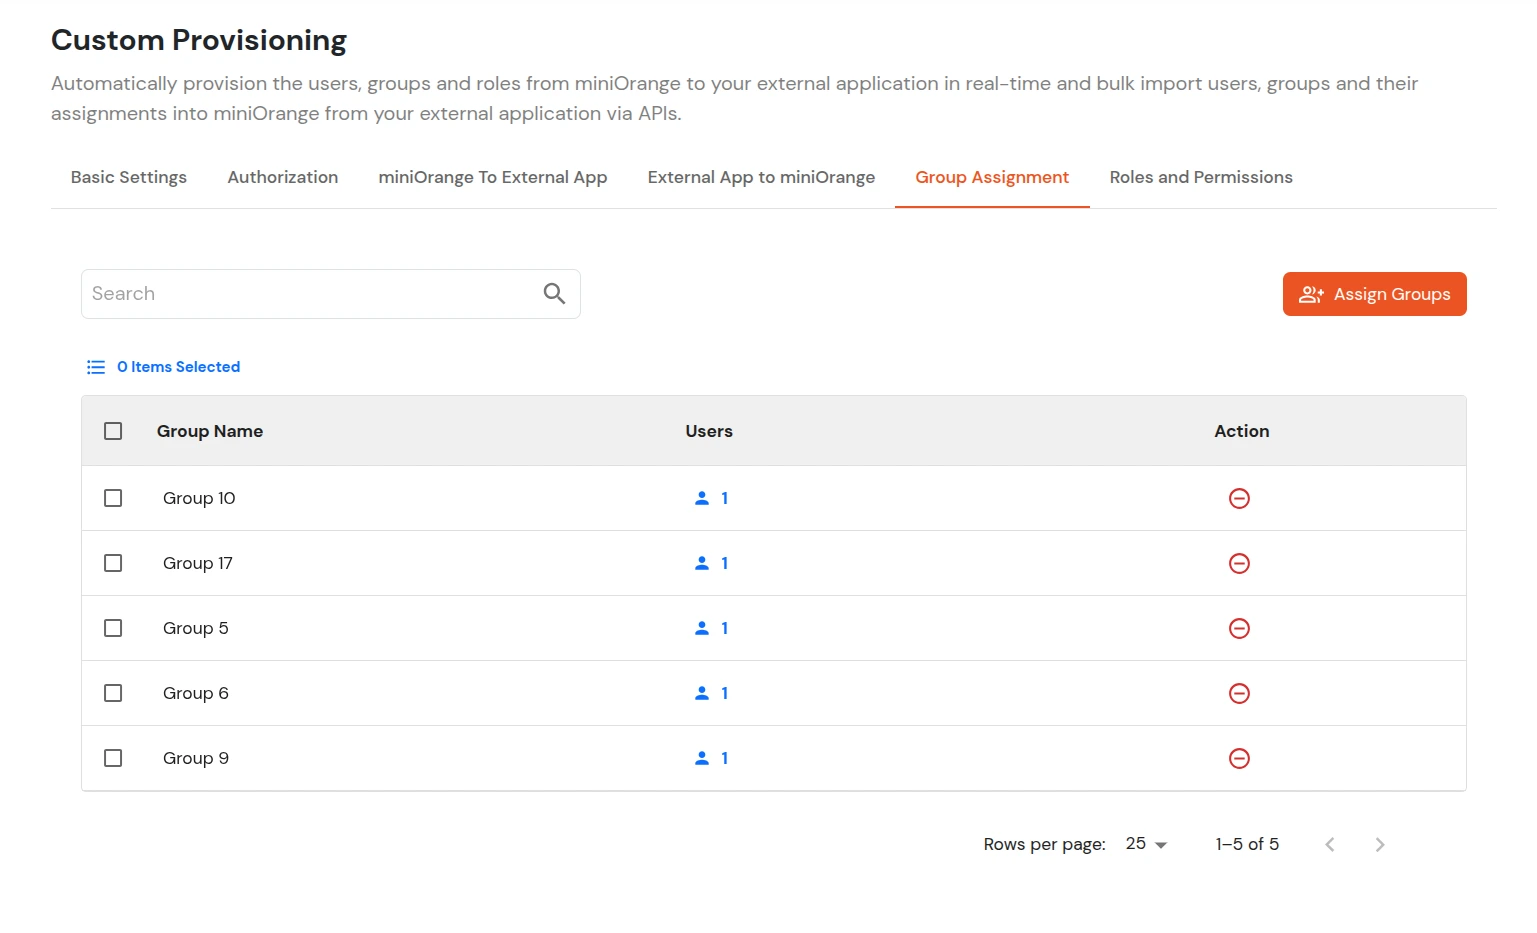
6. Group Assignment